Can LVP Flooring Be Installed in Basements and Wet Areas?
Where LVP genuinely works — basements, kitchens, laundry rooms, bathrooms — and where it doesn't. Plus the slab-moisture, vapor-barrier, and edge-sealing steps that decide whether the install lasts.
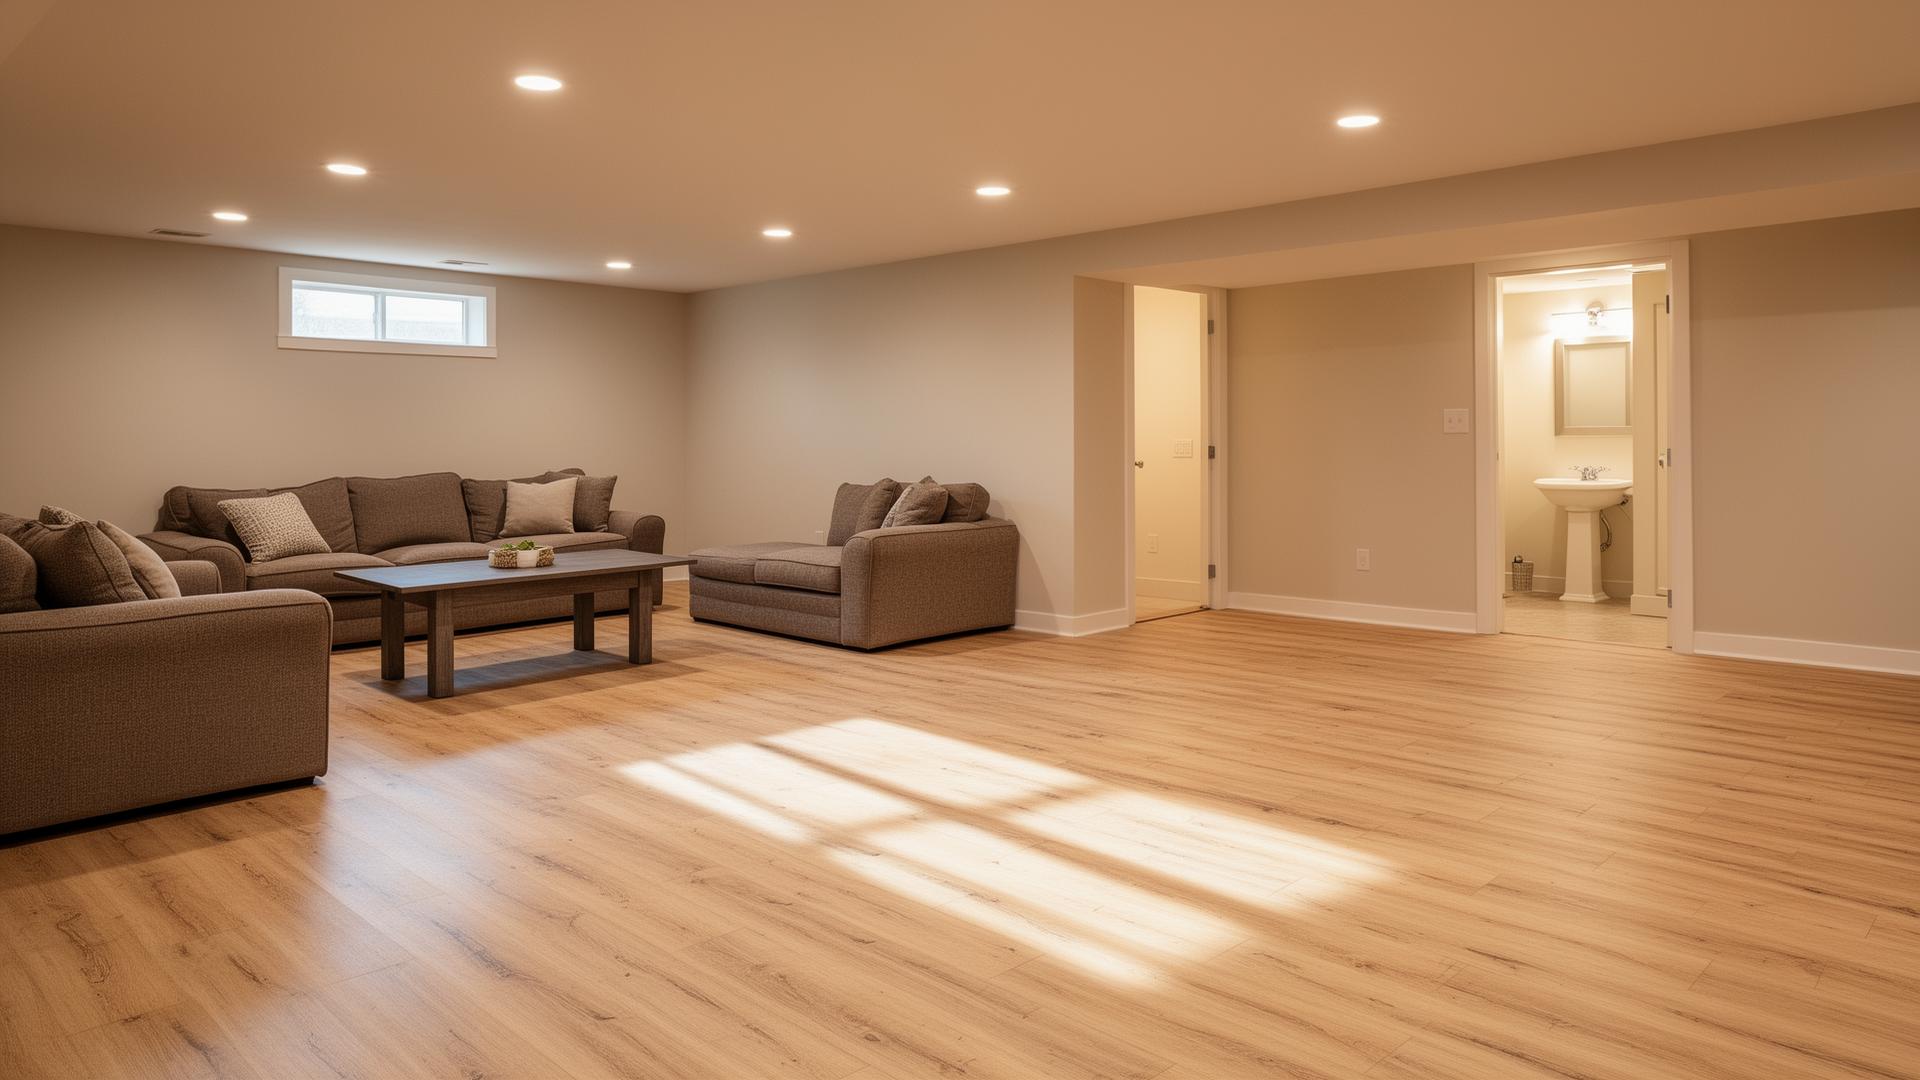
Short answer: yes — LVP can go in basements, kitchens, laundry rooms, half baths, and full bathrooms, as long as the slab is tested for moisture, the perimeter is properly sealed, and the right install method is chosen for the room. The plank itself is waterproof. The floor system — seams, edges, substrate, and what''s underneath it — is what either lasts twenty years or fails in eighteen months. Almost every "LVP failure" we''re called out to fix is an install failure, not a product defect.
What "waterproof LVP" actually means
Modern LVP has a solid PVC core (SPC = stone-polymer composite; WPC = wood-polymer composite). The plank itself can sit in a puddle for hours, sometimes days, without swelling. That''s real. What''s not waterproof is everything around it: the click seams between planks, the cut edge where the floor meets a tub or toilet, and the substrate below.
The real enemy in wet areas isn''t spills from above. It''s vapor drive from below — moisture rising out of a concrete slab into the back of the plank, trapped there, slowly destroying the wear layer and breeding mold. That''s why basements need a moisture test before anything else.
SPC vs WPC for wet areas: both work. SPC is denser and more dimensionally stable, which makes it the safer choice over slightly uneven slabs or in unconditioned spaces.
Room-by-room verdict
| Room | LVP OK? | Key requirement |
|---|---|---|
| Basement (below grade) | Yes | Slab moisture test + vapor barrier |
| Kitchen | Yes | Standard subfloor prep |
| Laundry room | Yes | Washing machine drain pan |
| Half bath (powder room) | Yes | Silicone-caulked perimeter |
| Full bath with tub/shower | Yes | Sealed perimeter, glue-down preferred |
| Mudroom / entry | Yes | Door-track flashing |
| Sunroom (unconditioned) | Caution | Thermal expansion will fight you |
| Sauna / steam room | No | Sustained heat + humidity is out of spec |
| Covered patio (exterior) | No | UV and freeze-thaw void the warranty |
Basements: the slab moisture test is non-negotiable
Concrete slabs release water vapor for years — sometimes for the life of the home. Below-grade slabs (basements) almost always have measurable vapor pressure even when the surface looks bone dry. Before a single plank goes down, the slab needs a quantitative test. There are two industry-standard options:
- Calcium chloride test (ASTM F1869) — A sealed dish of crystals sits on the slab for 60–72 hours and is weighed. Most LVP manufacturers cap acceptable emission at 3 lb per 1,000 sq ft per 24 hours.
- In-situ RH probe (ASTM F2170) — A probe is set into a drilled hole in the slab. Most manufacturers cap acceptable internal relative humidity at 75–80% RH.
If readings come in above threshold, the install needs either a 6-mil polyethylene vapor barrier under a floating LVP system, or a liquid-applied moisture mitigation membrane rolled onto the slab before a glue-down install. Skipping this step is the single most common reason basement LVP cups, telegraphs slab cracks, or smells musty within a year or two. (See our subfloor readiness checklist and subfloor prep guide for the full sequence.)
Bathrooms: sealing the perimeter is what makes it work
In a bathroom, the plank is waterproof; the cut edge around the toilet flange, tub, vanity, and shower curb is the failure point. Three rules separate a bathroom LVP install that lasts from one that doesn''t:
- 100% silicone caulk at every wall, tub, and fixture base. Not the manufacturer''s color-matched acrylic seam filler — that''s for plank-to-plank cosmetic touch-ups. Use clear or color-matched silicone at the perimeter so water sheeting off a tub or shower curb can''t wick under the floor.
- Cut tight around the toilet flange and seal underneath. The floor should land within an eighth-inch of the flange, and a bead of silicone should go between the underside of the toilet base and the LVP before resetting the toilet. A leaking wax ring under an unsealed toilet will destroy any floor — LVP, tile, or hardwood.
- For full bathrooms over ~40 sq ft, glue-down beats floating. A glued plank gives water no air gap to travel through. Floating LVP is fine in a powder room, but in a full bath with a tub or shower, glue-down is the safer call.
Avoid T-moldings in the bathroom doorway when possible — they''re an open seam pointed straight at the wet zone. If a transition is unavoidable, caulk both sides.
Kitchens and laundry rooms: lower-risk wet areas
Kitchens and laundry rooms aren''t really "wet areas" in the bathroom sense. The realistic threats are appliance failures: a dishwasher gasket leak, an ice-maker line that ruptures, or a washing-machine hose that bursts at 3 a.m. The floor doesn''t need special prep beyond a flat, clean subfloor — the appliances do.
Three defenses worth installing at the same time as the floor: a manufacturer-spec dishwasher drain pan, a plastic washing-machine pan with a drain line, and an accessible water shutoff valve for both. None of those are floor work, but they''re what keeps the floor alive when the appliance fails.
For more on this room comparison, see LVP vs laminate in kitchens and bathrooms.
What can still go wrong — and how to spot it early
- Cupping or doming — edges or center of planks rising. Almost always slab moisture overwhelming the back of the plank. The vapor barrier wasn''t there or wasn''t lapped properly.
- Edge curling at the toilet base — usually a missing or cracked silicone bead. Re-caulk immediately before it migrates.
- Adhesive bleed-through on a glue-down install — slab was too damp the day of install. This is preventable with a proper moisture test beforehand.
- Mold or musty smell at the baseboards — water has been trapped under a floating floor, often from a slow leak. Pull a few planks, find the source, dry it out completely, then reinstall.
Most of these are avoidable. The ones that aren''t become a lot less painful when caught in the first month. See common LVP installation mistakes for the full list and what to know before installing LVP for the planning side.
How TRU Installation handles wet-area LVP
Every basement and bathroom LVP project we quote starts with a slab moisture test as part of the on-site measurement. The vapor barrier or mitigation membrane (if needed), perimeter silicone, and install method (floating vs glue-down) are spelled out as line items in the written quote — no surprises, no "subfloor charges" added later.
You can build a self-serve estimate on our pricing page, or book an on-site measurement and we''ll bring the moisture meter with us.
Know your flooring cost in 60 seconds.
Use our published rates to get an itemized estimate — no phone calls, no sales pressure.
Keep reading
All articles →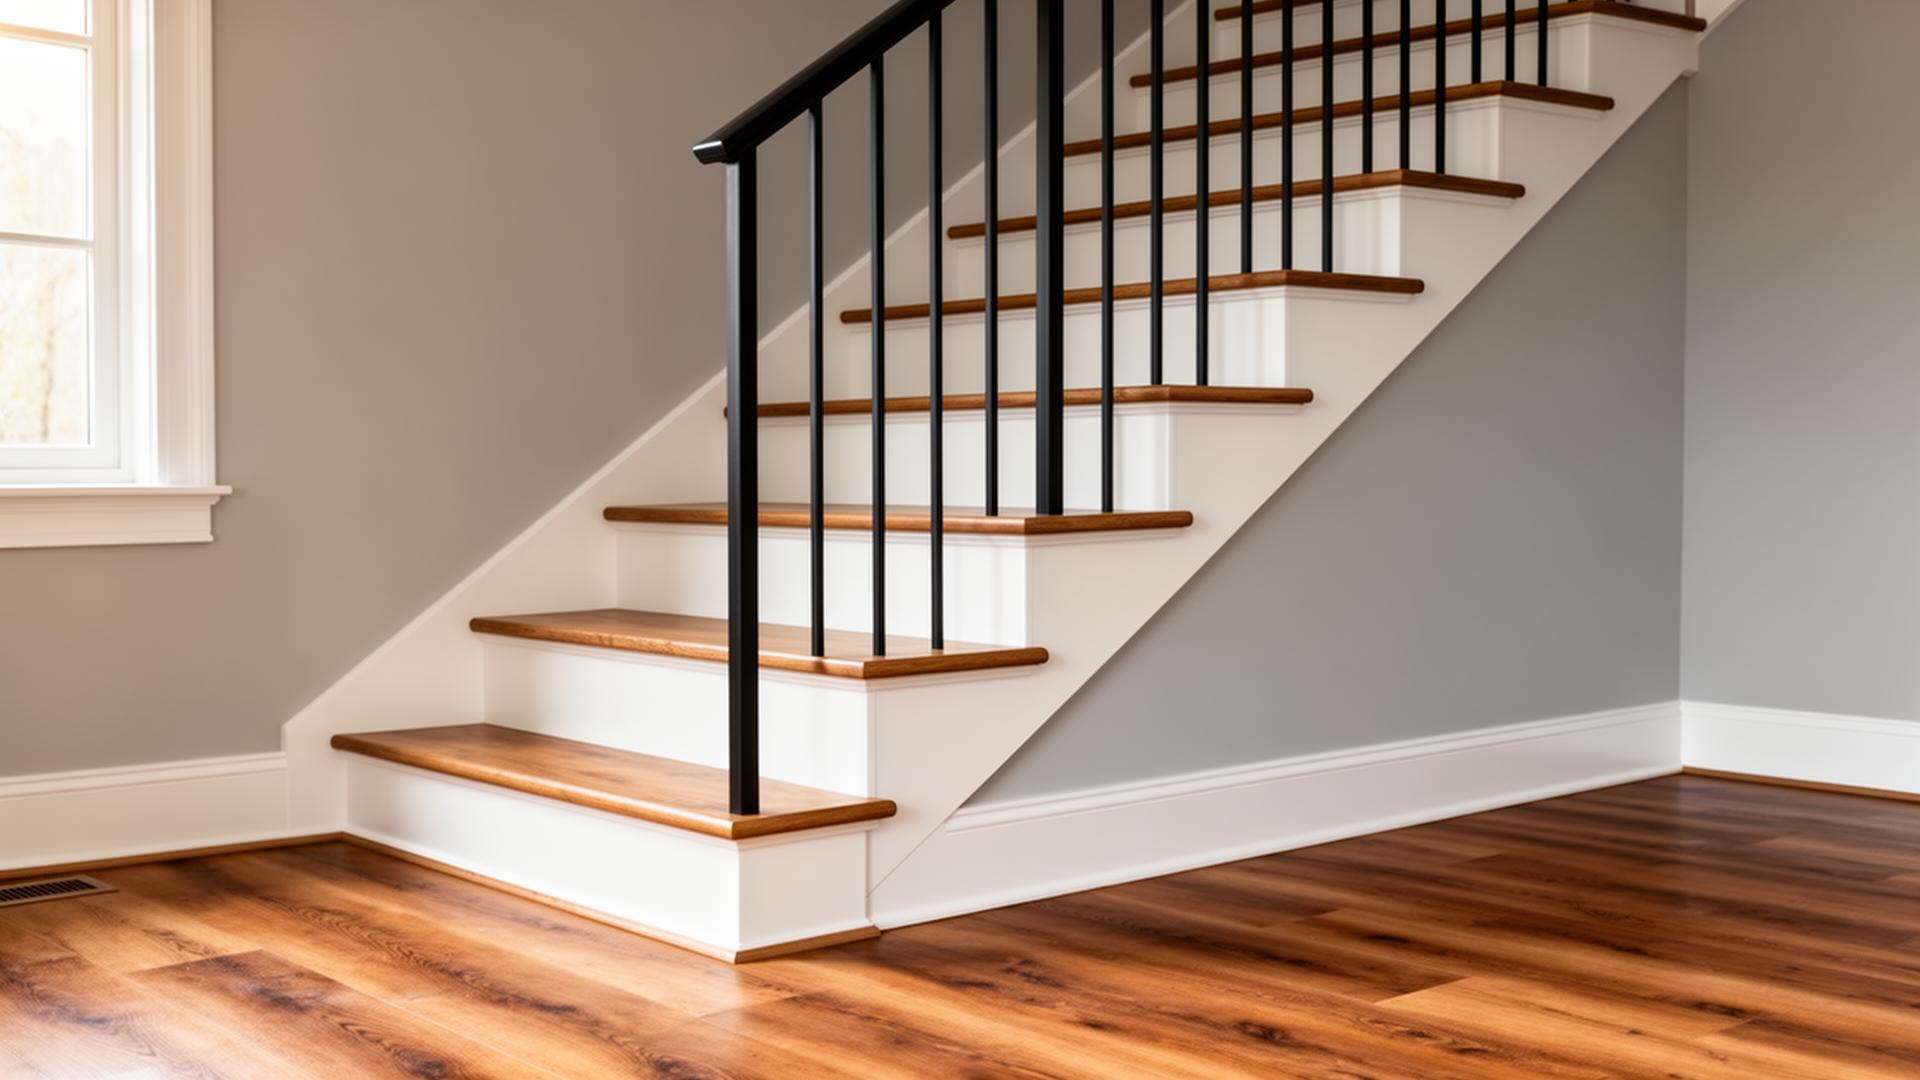
Can LVP Be Installed on Stairs?
Yes — LVP works on stairs, but it must be glued down, paired with matching stair-nose molding, and installed on a solid sub-tread. Here's what it really costs and what to watch out for.
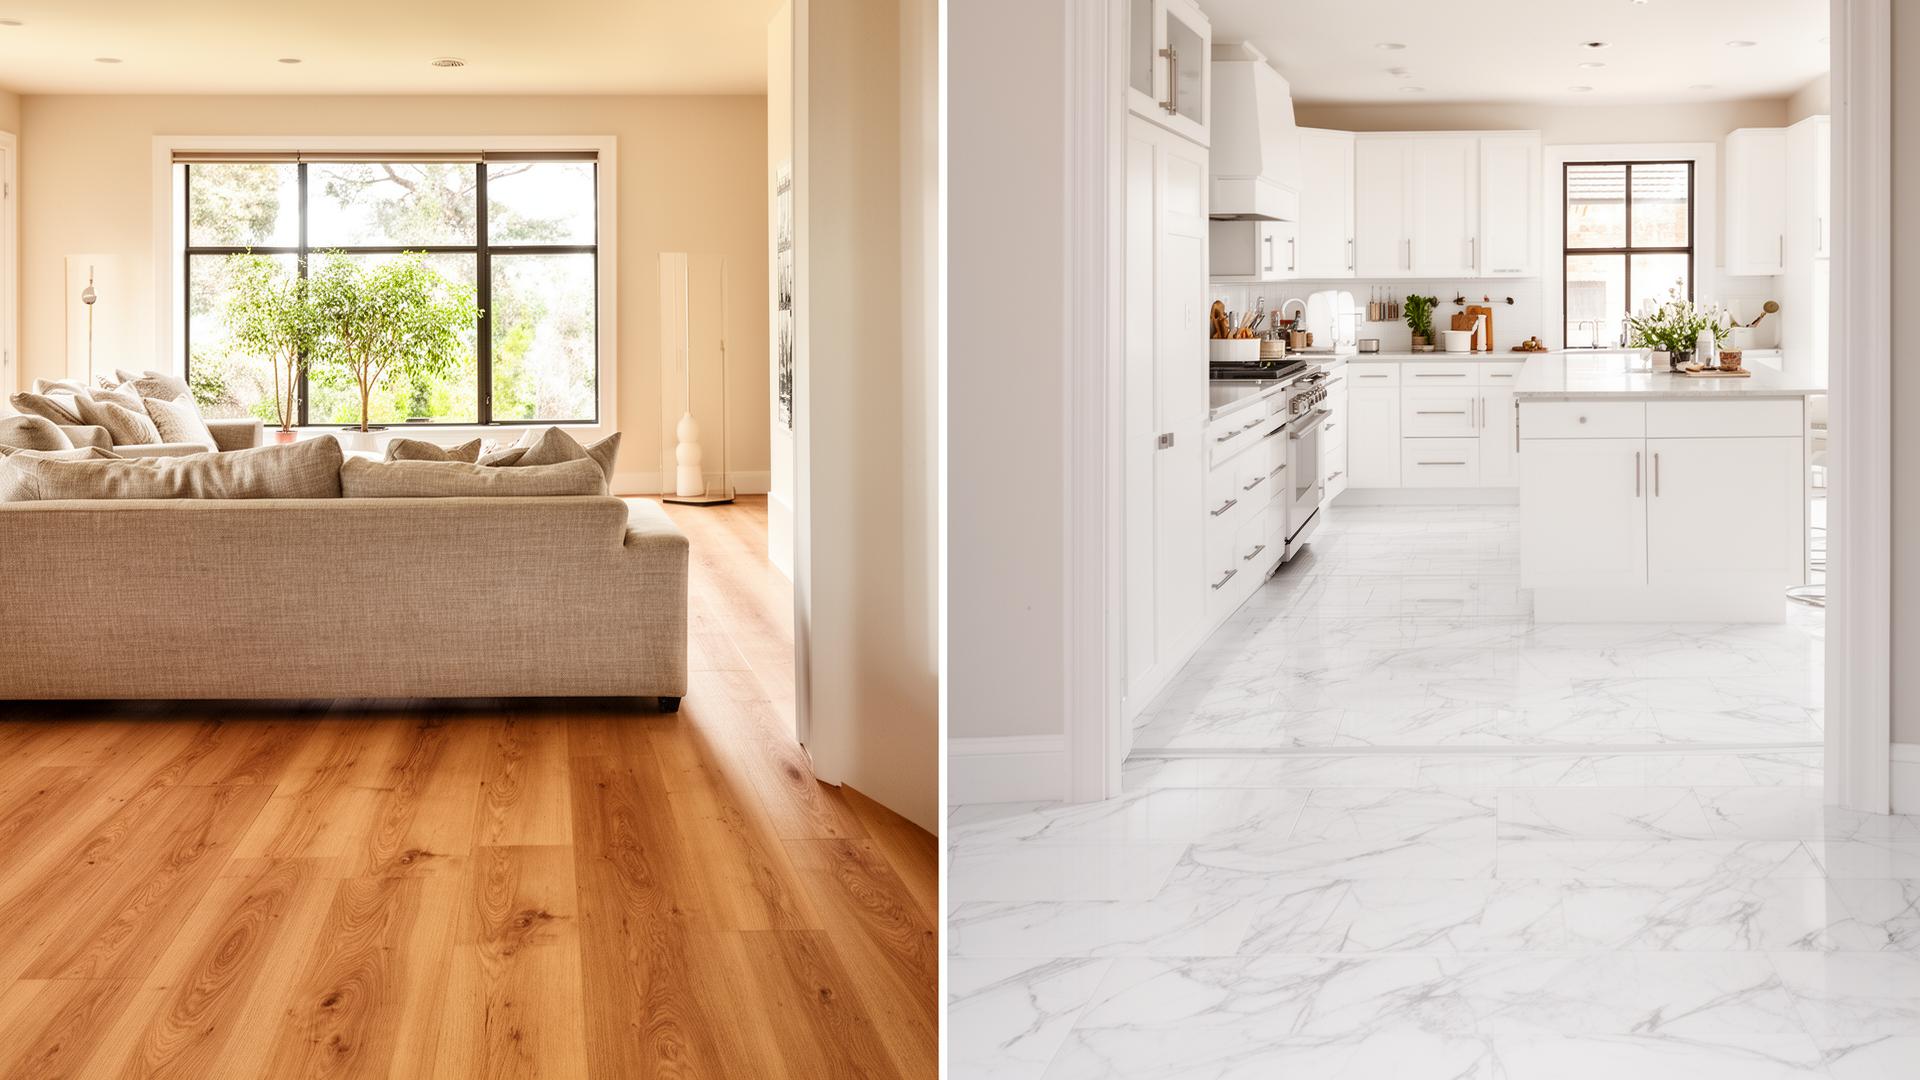
How Do I Choose Between Wood-Look and Stone-Look LVP?
A homeowner's decision guide for picking wood-look vs stone-look LVP — which visual works best in each room, what affects resale, and how to mix the two cleanly.
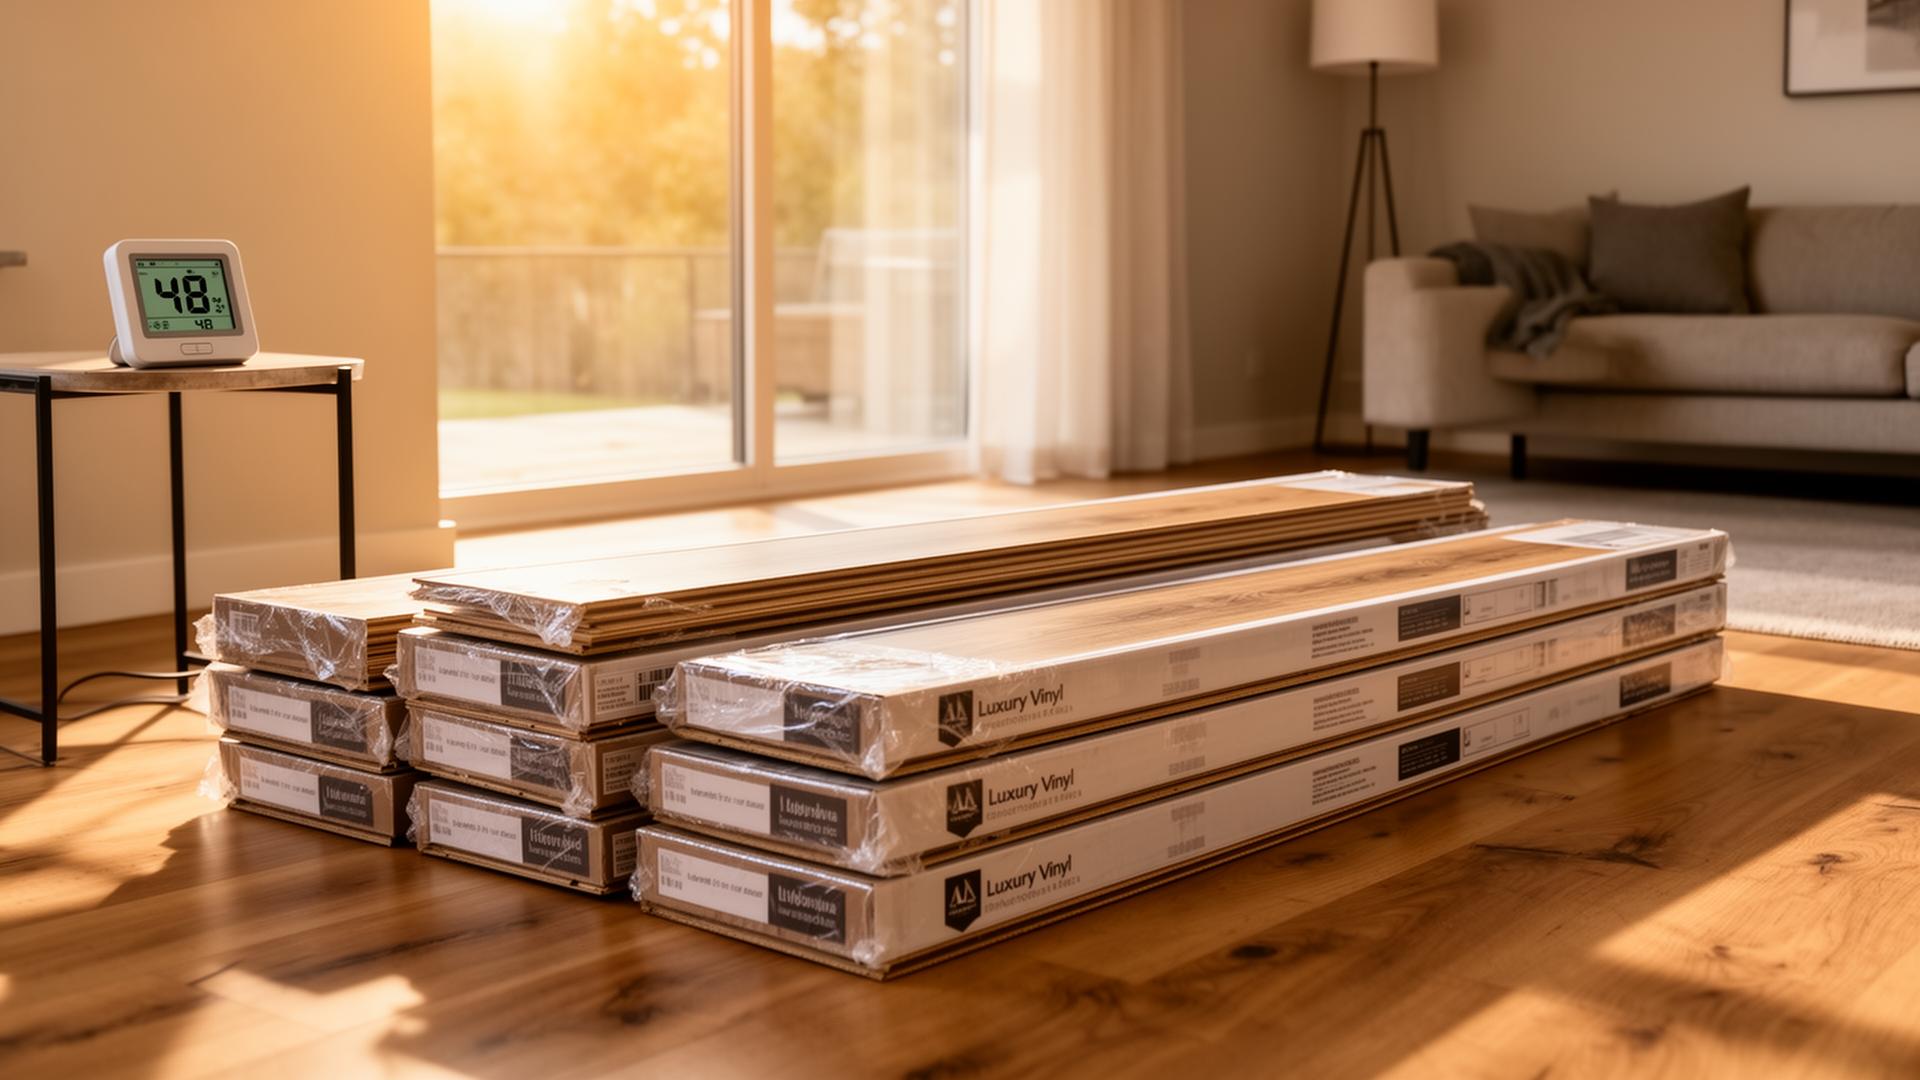
Should I Acclimate LVP Before Installation?
Yes — but not for the reasons you think. Here's what manufacturers actually require, how long acclimation takes, and what really happens if you skip it.