How Do I Choose Between Wood-Look and Stone-Look LVP?
A homeowner's decision guide for picking wood-look vs stone-look LVP — which visual works best in each room, what affects resale, and how to mix the two cleanly.
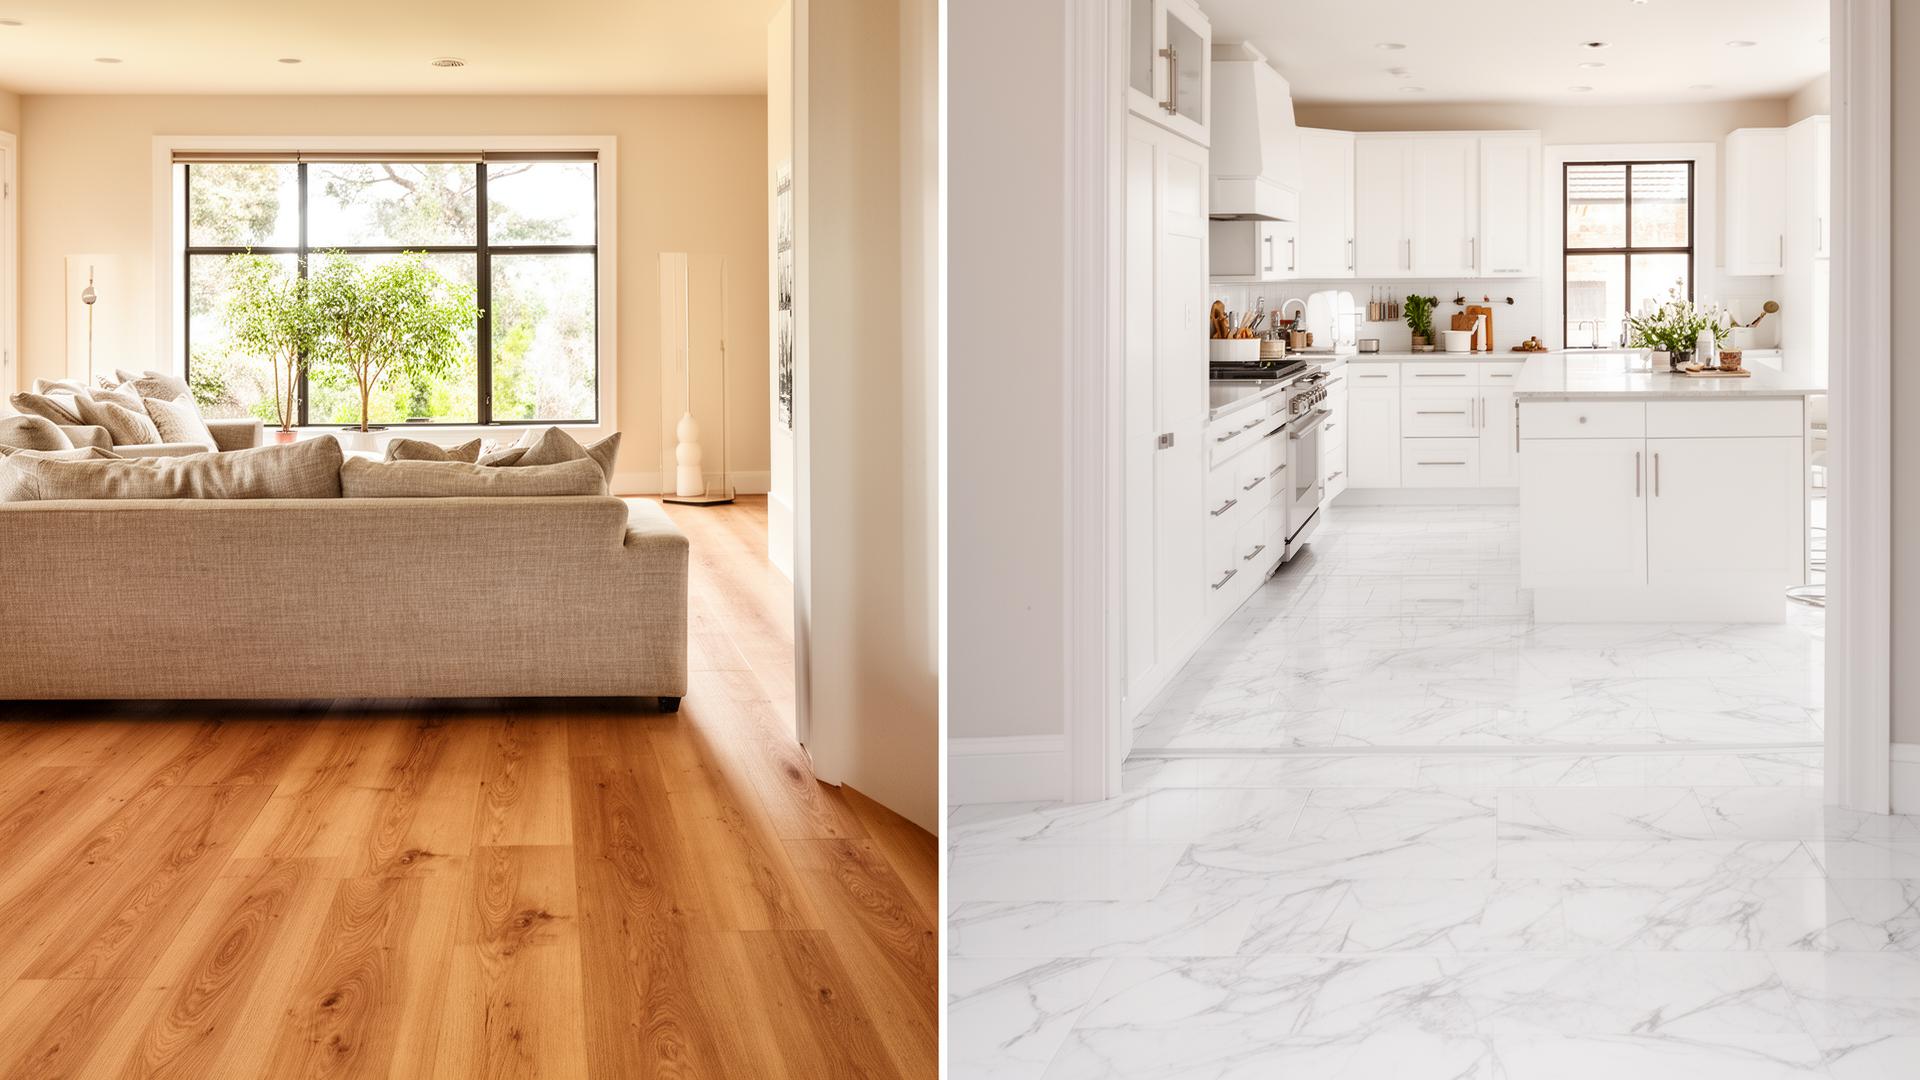
Wood-look LVP wins in living rooms, bedrooms, and hallways — it''s warm, continuous, and signals "real wood floors" in real-estate photos. Stone-look LVP wins in kitchens, bathrooms, laundries, and entries, where homeowners already expect to see tile and the visual reads as "wet-room ready." Most modern Southern California homes look best with one wood-look running through the main living spaces and one stone-look in the wet rooms, with a clean threshold between them.
Here''s how to make the choice room by room without second-guessing it later.
What "wood-look" LVP actually is
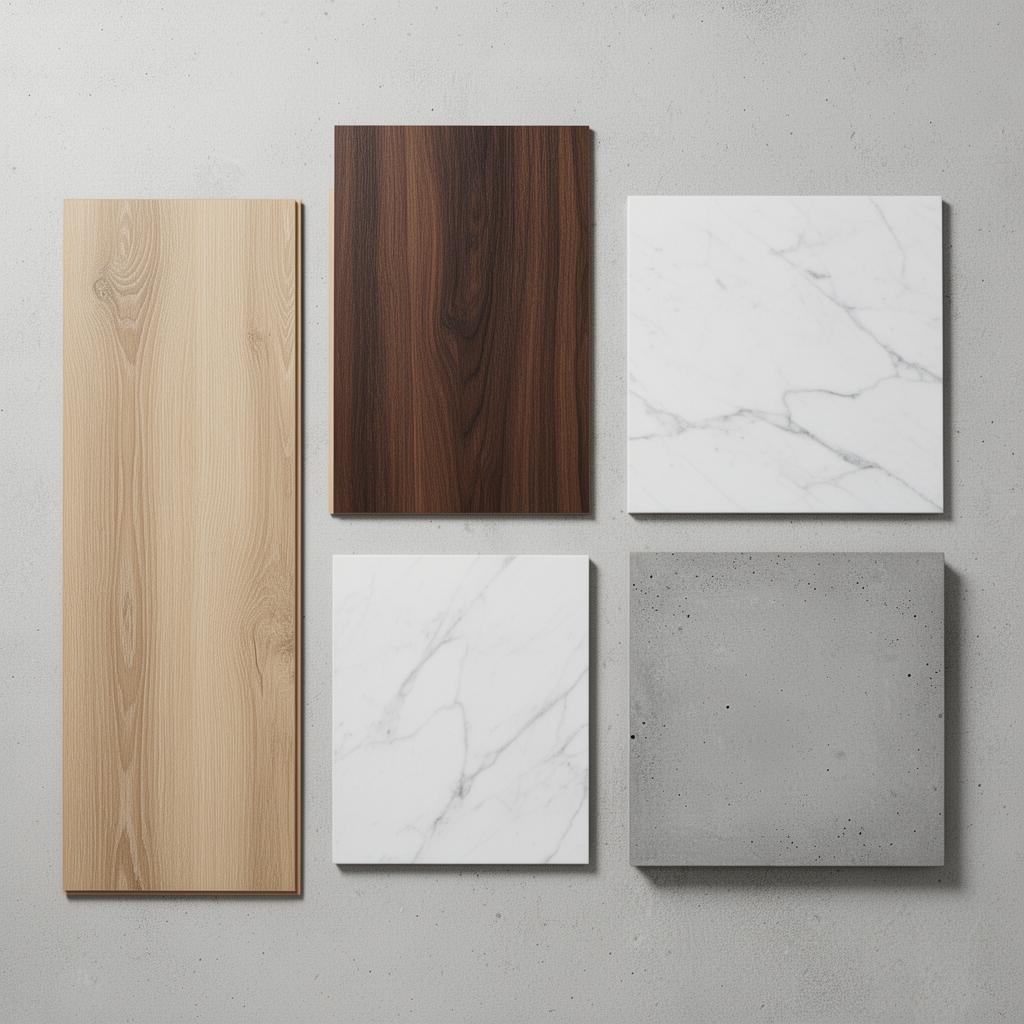
Wood-look LVP is built as long planks — typically 7" × 48" up to around 9" × 72" — printed with a photographic wood-grain layer and finished with embossed-in-register (EIR) texture so the bumps you feel actually line up with the grain you see. The premium lines are convincing enough that most guests will not realize it isn''t real hardwood until they crouch down.
Visual options span the full hardwood spectrum: white oak, rustic oak, hickory, walnut, maple, hand-scraped, wire-brushed, and reclaimed-barnwood looks. Tone ranges from very light Scandinavian whites through warm honey oaks to deep espresso walnut.
What "stone-look" LVP actually is
Stone-look LVP is printed and sized to mimic tile — usually 12" × 24", 18" × 36", or occasionally hexagons and 24" × 24" squares. Visual options include white Carrara marble, warm travertine, slate, polished concrete, terrazzo, and limestone.
Many premium stone-look lines offer micro-bevel edges that read as fine grout lines, and a few offer true grout-fillable seams where you can apply matching grout for a near-tile appearance. You get the look of a tiled floor at a fraction of the labor cost, without the cracked-grout maintenance.
Side-by-side comparison
| Factor | Wood-look LVP | Stone-look LVP |
|---|---|---|
| Room feel | Warm, continuous, residential | Cool, crisp, "wet-room ready" |
| Typical size | 7"–9" wide × 48"–72" long | 12"–24" wide tiles |
| Grout-line option | No (micro-bevel only) | Yes, on premium lines |
| Hides dust & grit | OK | Better (gray/concrete looks especially) |
| Foot feel | Slightly warmer underfoot | Slightly cooler underfoot |
| Scratch visibility | Hidden by grain pattern | More visible on solid stone visuals |
| Install complexity | Standard plank layout | Same; tile layout planning helps |
| Cost | Baseline | Usually within ~$0.30/sq ft |
| Resale signal | Strong in living areas | Strong in kitchens & baths |
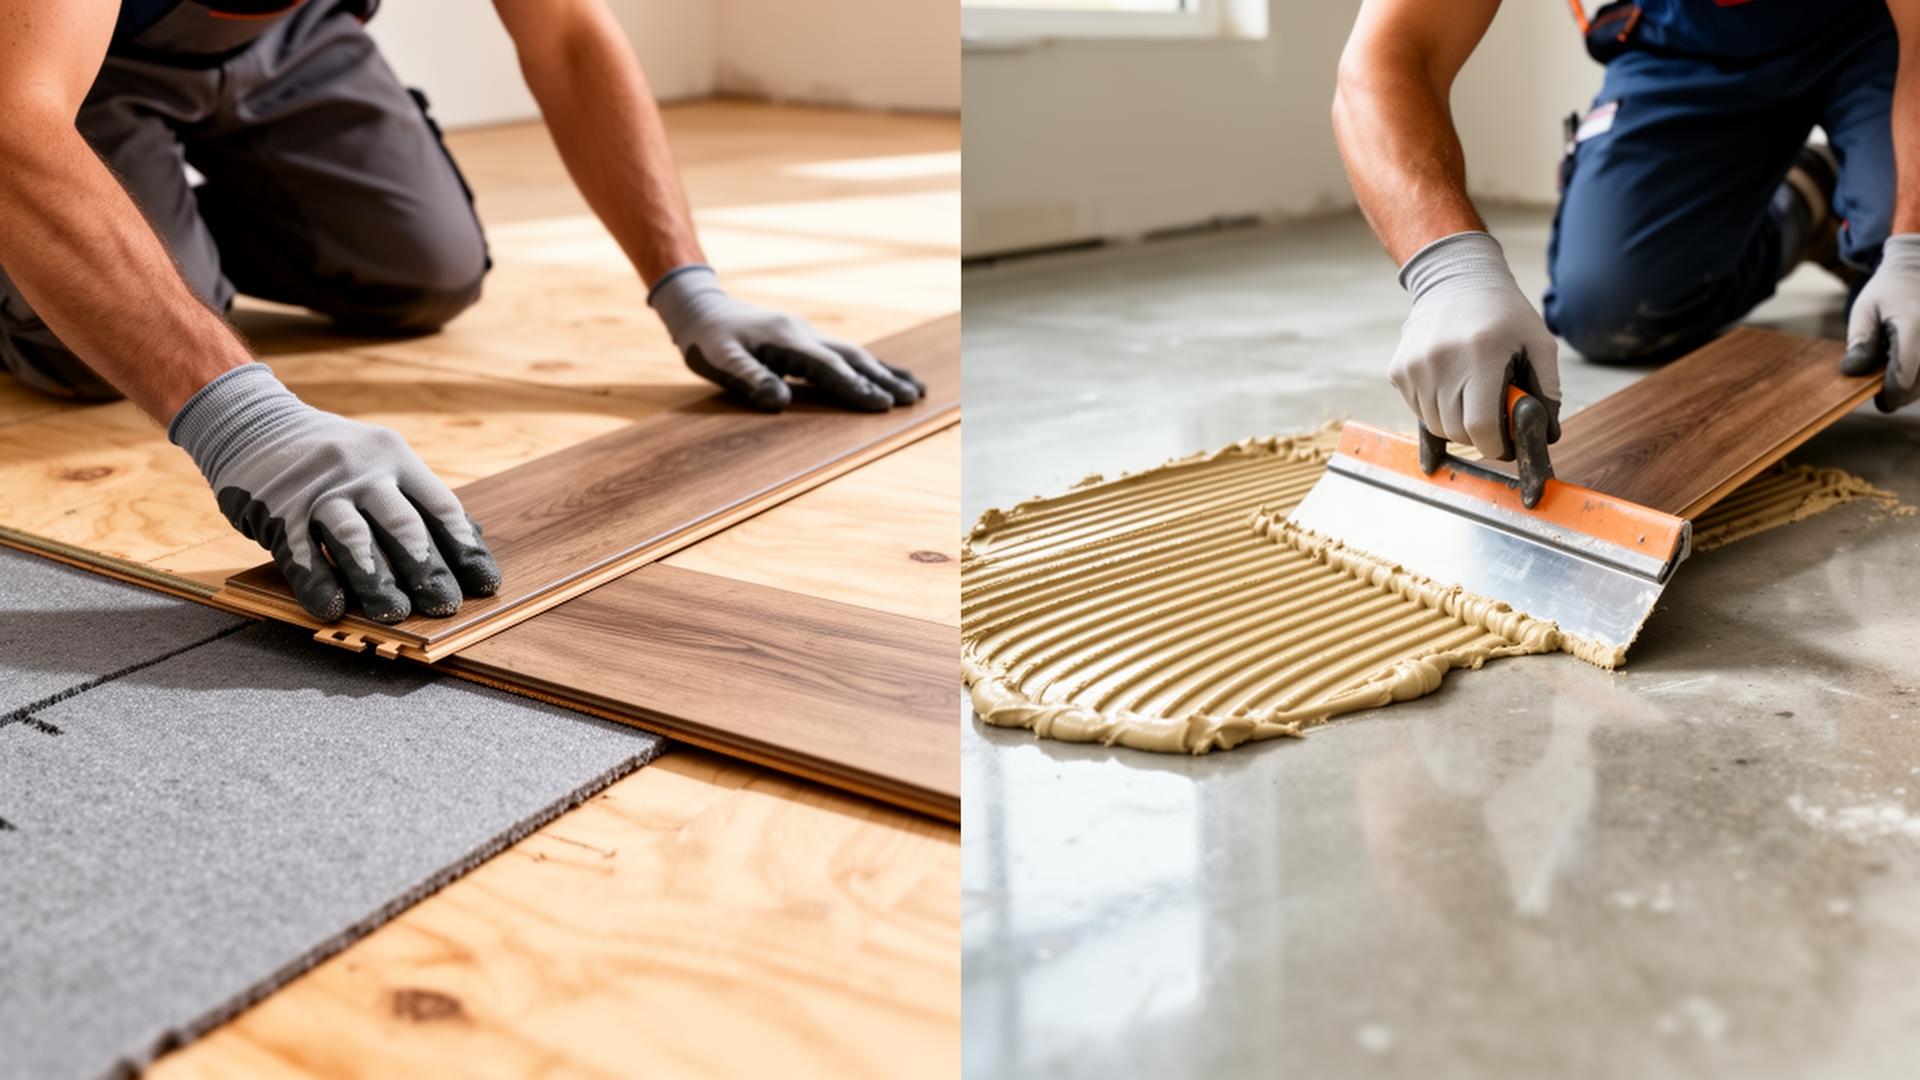
Both are 100% LVP. Both are waterproof. Both install the same way (click-lock or glue-down — see our breakdown). The choice is almost entirely about what each room looks like when you walk in.
Best rooms for wood-look LVP
Wood-look is the safe, premium-feeling default for the rooms where people live: living rooms, family rooms, bedrooms, hallways, dining rooms, home offices, and open-plan great rooms. It reads as a major upgrade from carpet and as a comparable alternative to real hardwood — without the scratching, fading, and refinishing.
A few layout tips:
- Run planks parallel to the longest wall in rectangular rooms — it makes the room feel longer and the floor look intentional.
- In an open-plan space, run planks toward the primary light source (usually the biggest window) so the grain catches daylight.
- Avoid very dark walnut in small rooms with limited daylight — it can make the room feel cave-like.
- Mid-tone oak is the most forgiving choice and the most universally appealing for resale.
Best rooms for stone-look LVP
Stone-look wins in rooms where buyers and guests already expect tile: kitchens, bathrooms, laundry rooms, mudrooms, entries, sunrooms, and pool/patio-adjacent rooms. The visual signals "this room handles water and grit" — even though wood-look LVP would technically perform the same (it''s also waterproof, see LVP in basements and wet areas).
Why people reach for stone-look in these rooms specifically:
- It hides dust, sand, and pet-tracked debris better than mid-tone wood.
- It matches the design vocabulary of kitchens and bathrooms (countertops, backsplashes, vanities).
- The larger tile format suits the rectangular footprint of most kitchens.
- In real-estate photos, a crisp marble-look kitchen floor reads as a higher-end finish than wood would.
The mixing question
Most modern Southern California homes look best with wood-look throughout the main living spaces and stone-look in the wet rooms. The trick is the transition.
Plan your switch at a doorway threshold, not across an open sight line. A clean T-molding or flush transition strip inside the doorway frame disappears visually; a switch in the middle of an open floor looks like a mistake. For a full walkthrough of the strategy — including grain direction, tone matching, and threshold details — see can you mix different LVP styles in one home.
Resale considerations
Real-estate photographers know what sells: warm wood-look in living areas, crisp stone-look in kitchens and baths. The wrong choice in the wrong room can shrink it visually — dark wood-look in a small windowless bathroom is the classic mistake, and so is a busy stone-look in a large open living room (it ends up reading as commercial).
If you''re selling within 5 years, default to a neutral mid-tone oak for living areas and a light marble or warm concrete for wet rooms. Those two combinations photograph well, appeal to the widest buyer pool, and won''t feel dated.
How we help you decide
At your professional measurement visit, we bring physical samples of both wood-look and stone-look options and hold them up in each room''s actual light — daylight in your living room is very different from the LED light in your kitchen, and a sample that looks perfect in the showroom can read completely differently in your space. We''ll help you decide where each visual belongs and where the cleanest transition lives. See full installation rates on our pricing page or learn more about SPC luxury vinyl plank installation.
Know your flooring cost in 60 seconds.
Use our published rates to get an itemized estimate — no phone calls, no sales pressure.
Keep reading
All articles →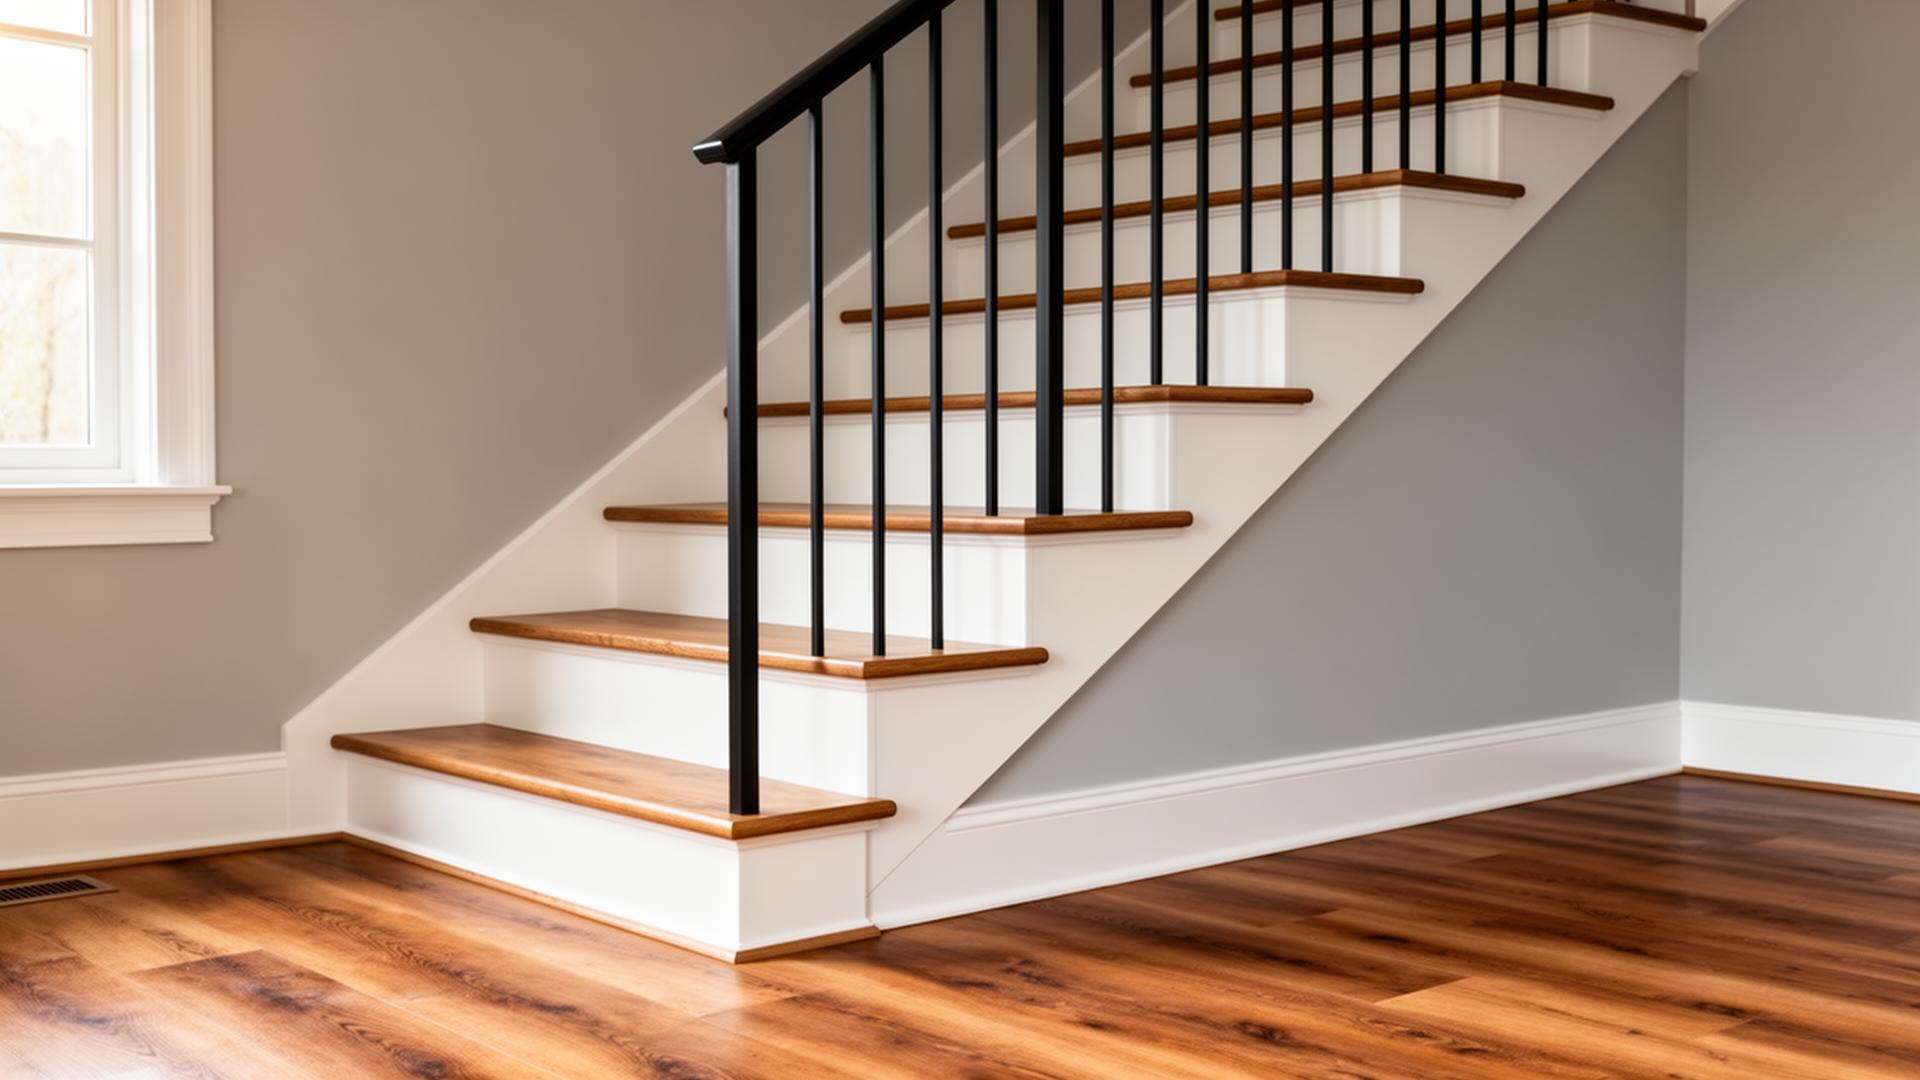
Can LVP Be Installed on Stairs?
Yes — LVP works on stairs, but it must be glued down, paired with matching stair-nose molding, and installed on a solid sub-tread. Here's what it really costs and what to watch out for.
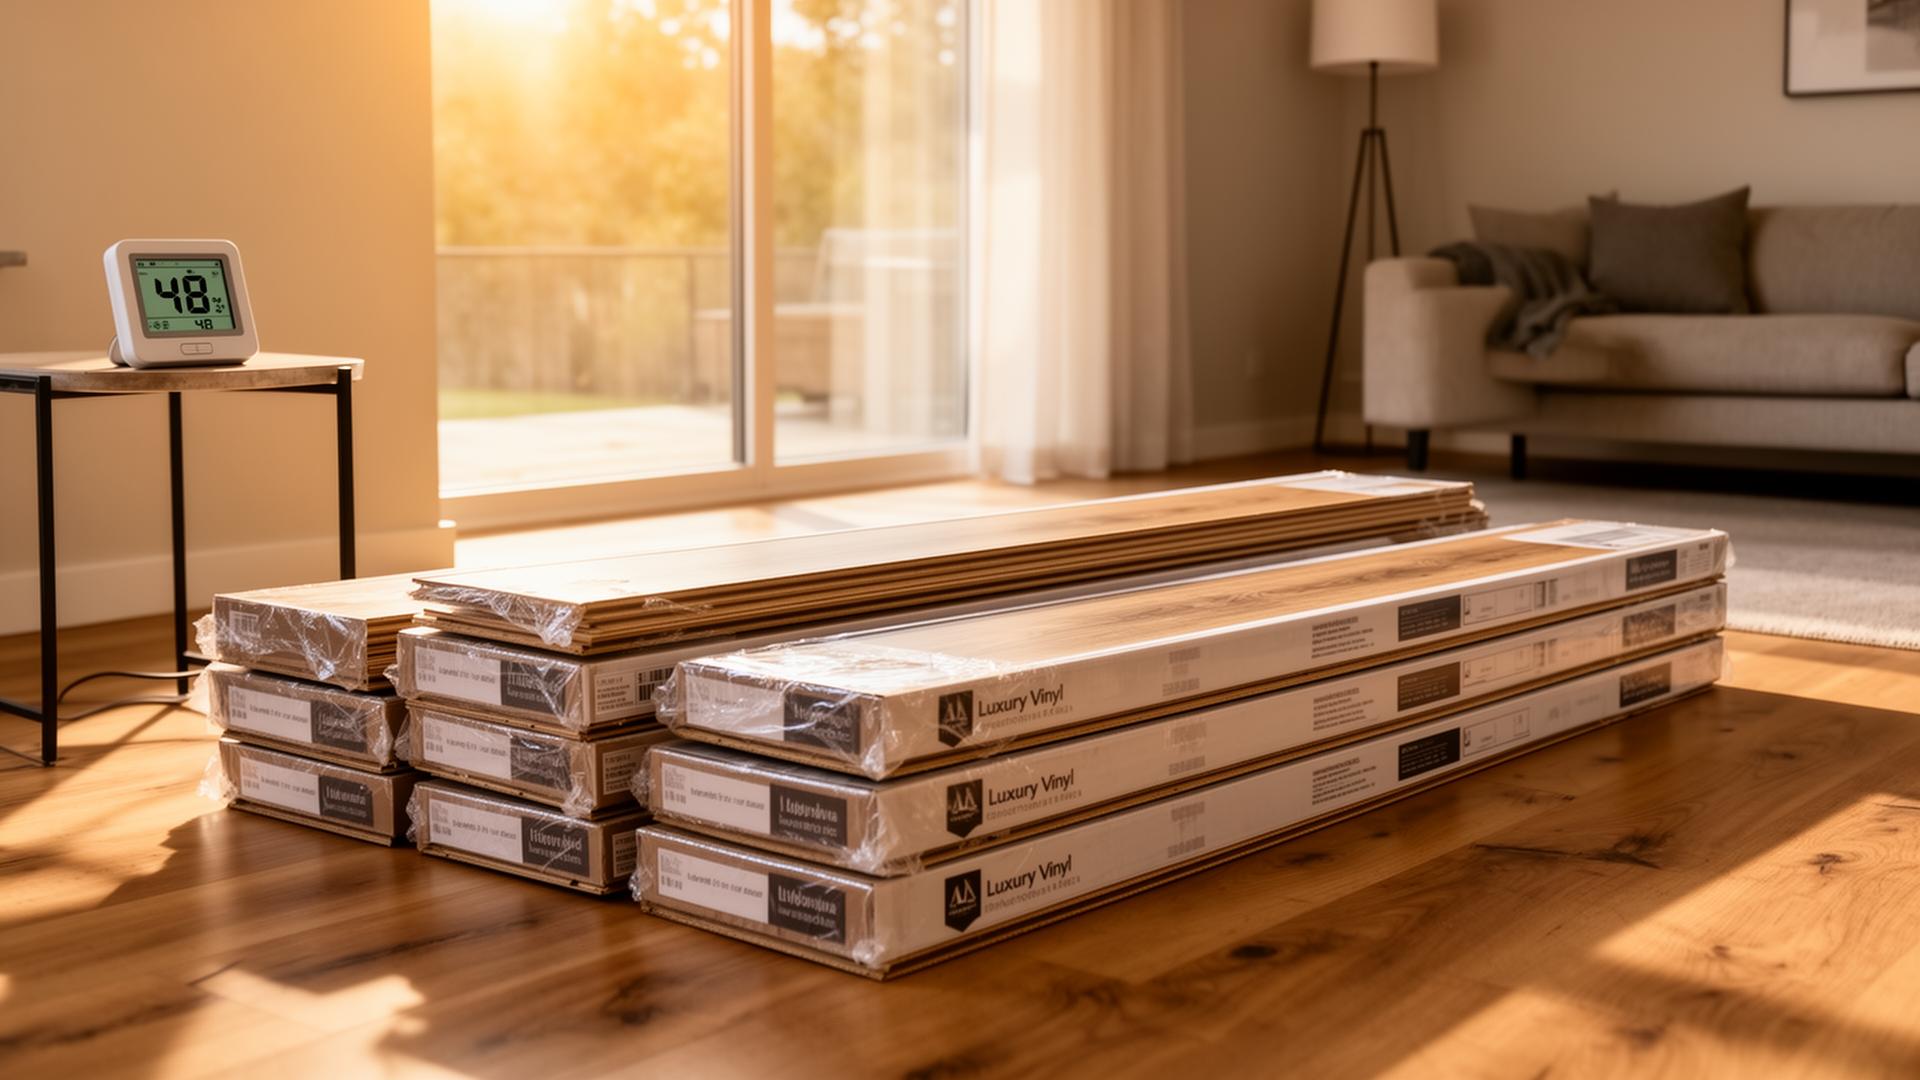
Should I Acclimate LVP Before Installation?
Yes — but not for the reasons you think. Here's what manufacturers actually require, how long acclimation takes, and what really happens if you skip it.
What's the Difference Between Click-Lock and Glue-Down LVP?
Click-lock floats. Glue-down bonds. Here's the honest comparison — cost, subfloor, moisture, repairs, lifespan — and which method actually fits your home.