10 Common LVP Installation Mistakes (And How to Spot Them)
A homeowner's inspection guide to luxury vinyl plank installs. Learn the 10 most common mistakes contractors make — and the red flags that tell you the job isn't being done right.
Luxury vinyl plank is one of the most forgiving floors to look at and one of the most unforgiving floors to install wrong. A bad LVP job can look perfect on day one and start buckling, gapping, or peaking six months later — long after the contractor cashed the check. The good news: most LVP failures trace back to the same handful of installation mistakes, and almost all of them are visible to the naked eye if you know what to look for.
This guide gives you the inspection eye of a flooring pro. Use it to spot-check your installer's work before final payment, or as a confidence check after the job is done.
How to use this guide
- Walk the floor with your installer present. Most reputable contractors welcome questions — defensiveness is itself a red flag.
- Take photos. Document subfloor prep, moisture readings, and any concerns before the baseboards go on.
- Raise issues early. Anything you catch before final payment is much easier to get fixed than anything you catch after.
The 10 most common LVP installation mistakes
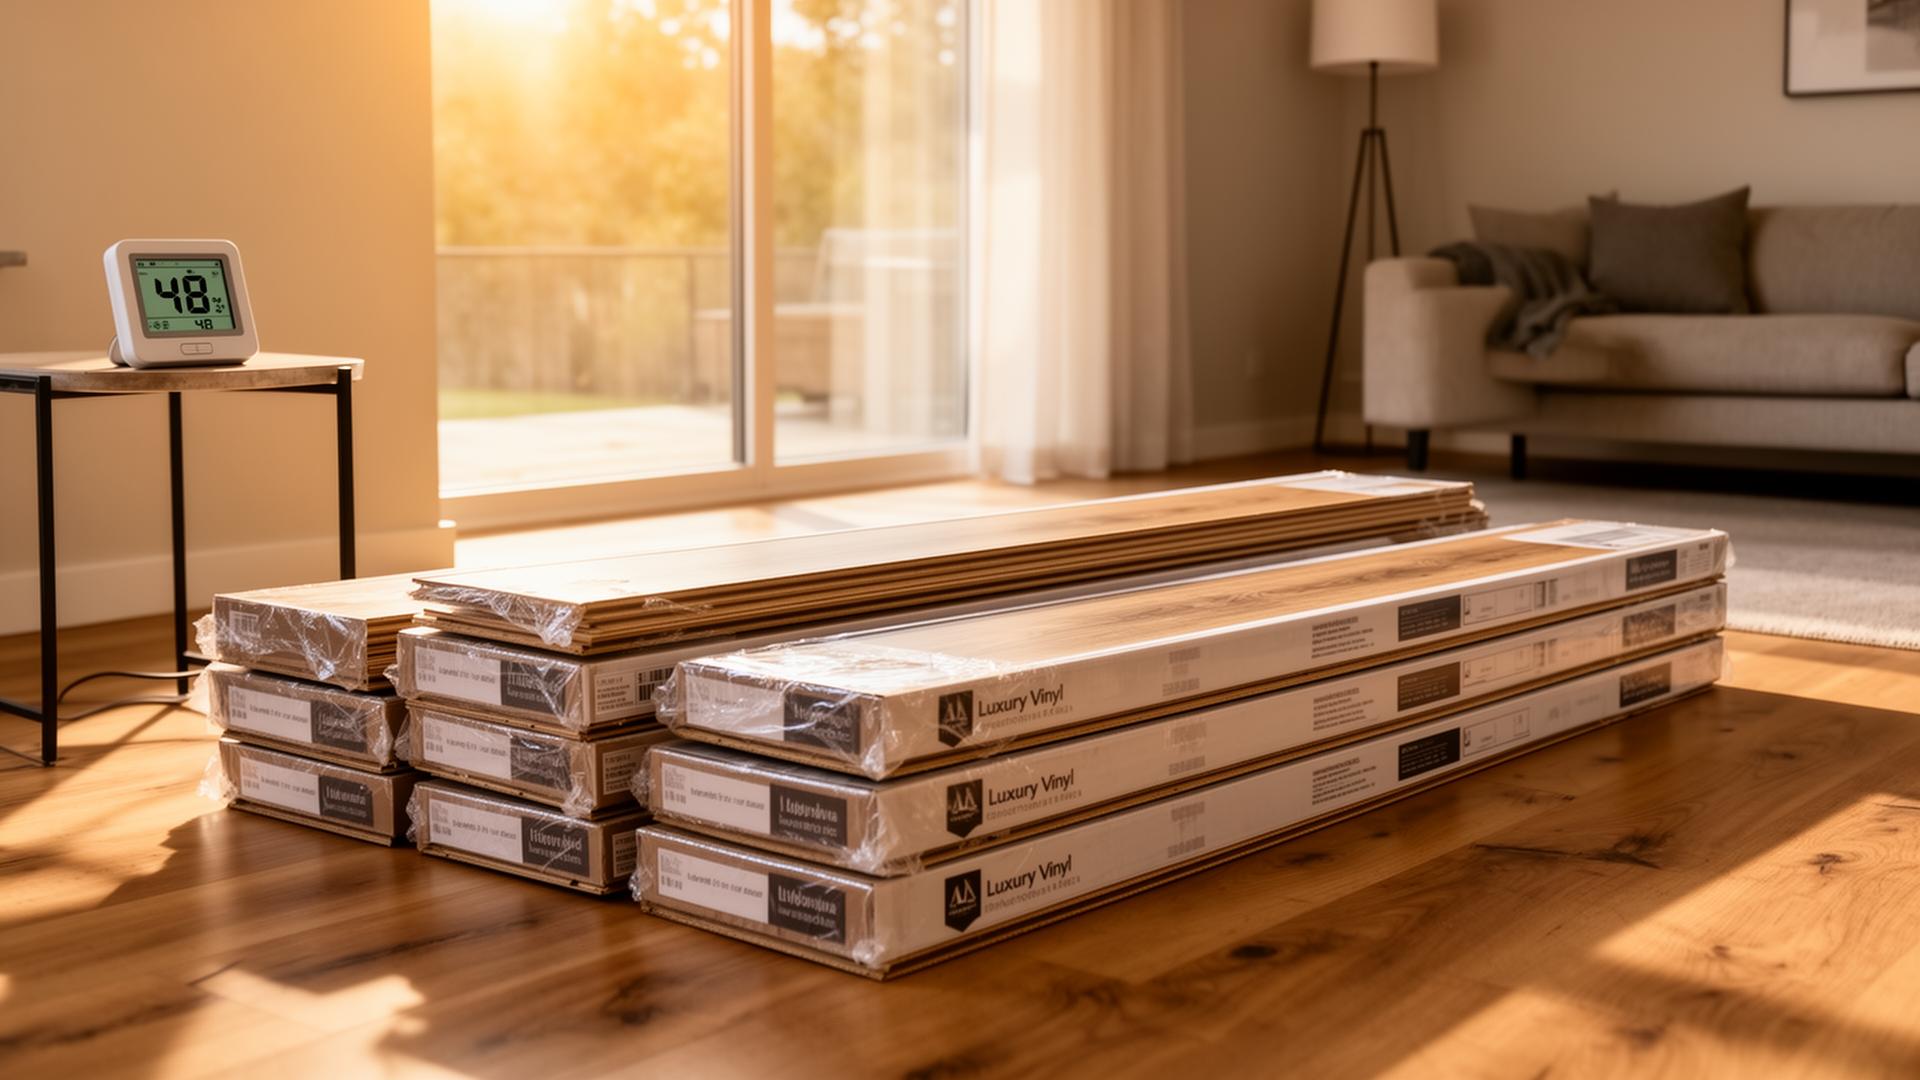
1. Skipping acclimation
LVP needs 24–48 hours in the room where it will be installed so the planks adjust to your home's temperature and humidity. If the boxes show up the morning of the install and get opened immediately, expansion and contraction after install can cause peaking and gapping.
Red flag: Boxes arrive and are opened the same day. Ask: "When did the material get delivered, and where has it been stored?"
2. Installing over an uneven subfloor
LVP is a floating floor. Any subfloor high spot or dip greater than 3/16" over a 10-foot span will telegraph through as soft spots, hollow clicks underfoot, and stressed locking edges that eventually pop apart.
Red flag: No straightedge or level on site. No mention of self-leveler or grinding before install starts.
3. No moisture test on concrete
Concrete slabs (especially in slab-on-grade Southern California homes) constantly release moisture vapor. Installing LVP over a slab without a calcium chloride or RH moisture test can void the manufacturer warranty and cause mold under the floor.
Red flag: Going straight from "the slab looks dry" to laying underlayment, with no meter and no written reading.
4. No expansion gap at the perimeter
This is the #1 cause of LVP buckling. Every wall, doorway, cabinet, and vertical obstruction needs a 1/4" gap so the floor can expand and contract with temperature. The gap gets covered by baseboards or quarter-round — it should never be caulked or grouted shut.
Red flag: Planks butted tight to the drywall. No spacers visible during install. Caulk between the floor and the wall.

5. Continuing planks under cabinets and islands without breaks
Heavy fixed objects like kitchen islands, built-in cabinets, and bathroom vanities pin the floor in place. A floating floor pinned at one end and free at the other will fight itself and fail. Pros either stop the floor at the cabinet toe-kick or add a transition break.
Red flag: Continuous planks running under a heavy island with no transition.
6. Stair-step or "H-pattern" seams
End joints between rows should be staggered randomly, at least 6–8 inches apart. Lazy installers line up seams in a repeating step pattern, which looks cheap and weakens the floor structurally because forces concentrate along the seam line.
Red flag: End joints that form a visible diagonal staircase across the room, or seams that line up within 4 inches of each other in adjacent rows.
7. Reusing old underlayment or doubling up pad on attached-pad LVP
Most quality LVP comes with attached IXPE or cork backing — adding a second pad on top makes the floor too spongy and overstresses the locking edges. Reusing crushed old underlayment defeats the purpose entirely.
Red flag: Foam underlayment going down under planks that already have a gray or black pad attached to the back.
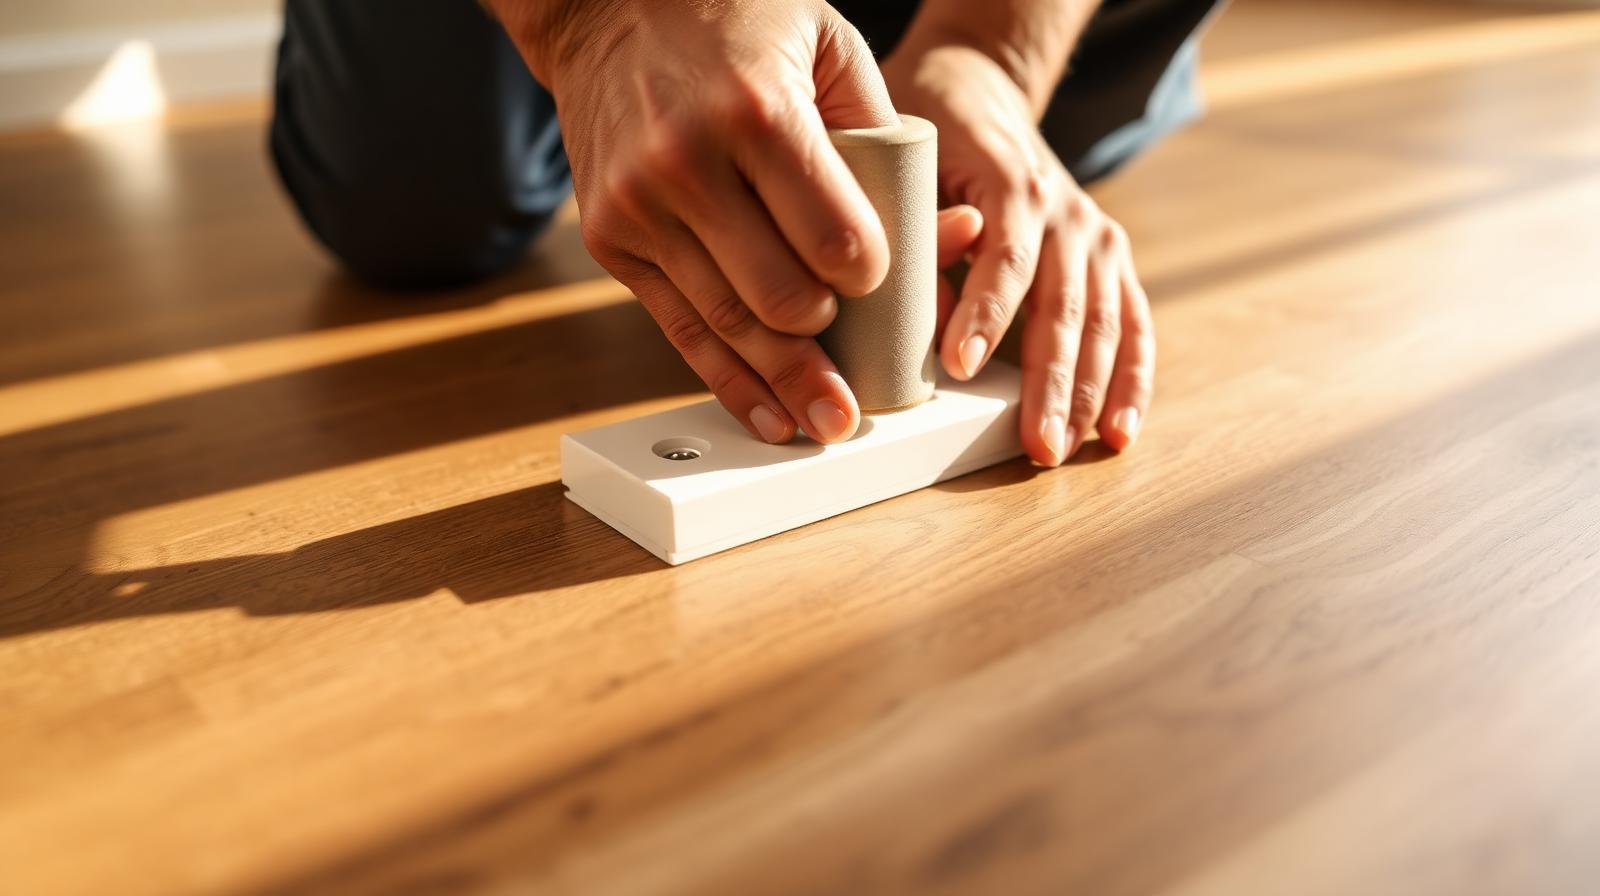
8. Hammering planks directly
LVP click-lock edges are precise and brittle. They need to be seated with a tapping block and a rubber mallet — never struck directly with a hammer or pry bar. A broken locking edge will gap within weeks and can't be repaired without pulling up the row.
Red flag: No tapping block on the tool belt. Visible chips or chalky white marks on plank edges.
9. Skipping transitions at doorways and long runs
LVP needs a T-molding or expansion break at every doorway and on any continuous run longer than about 40 feet (manufacturer-specific). Skipping them to make the floor "look seamless" is the fastest way to get buckling in the middle of a hallway.
Red flag: A single run of planks flowing from the living room through a hallway and into three bedrooms with no transitions.
10. Cutting baseboards or shoe molding too tight
The baseboard or quarter-round sits on top of the floor, not pressed into it. If it pins the planks down, the floor can't expand. You should be able to slip a business card under the molding.
Red flag: Baseboards caulked to the floor or visibly squeezing the planks.
Your quick red-flag checklist
- Material acclimated 24–48 hours on site
- Subfloor checked with a straightedge; high spots ground, low spots filled
- Written moisture reading on concrete slabs
- 1/4" expansion gap visible at every wall before baseboards
- No second underlayment under attached-pad LVP
- Tapping block used — never a bare hammer
- End seams staggered randomly, 6"+ apart
- Transitions at every doorway and long run
- Baseboards rest on the floor, not clamping it
- Written labor warranty in hand before final payment
What to do if you spot a mistake
Don't wait. Document the issue with photos, raise it with your installer before you make the final payment, and ask for the fix in writing. A reputable contractor will own the problem. If they brush you off or claim "that's normal," get a second opinion from another licensed installer before signing off. Once final payment clears, your leverage drops dramatically.
How TRU Installation avoids these mistakes
Our LVP installs include moisture readings logged on the job sheet, a 10-foot straightedge flatness check on every subfloor, attached-pad LVP installed directly on the prepared substrate (no double pad), and tapping blocks on every tool belt. Every job comes with a written labor warranty so you have recourse if anything we installed fails.
See our transparent LVP installation rates or book a professional measurement to get an itemized quote.
Related reading
Know your flooring cost in 60 seconds.
Use our published rates to get an itemized estimate — no phone calls, no sales pressure.
Keep reading
All articles →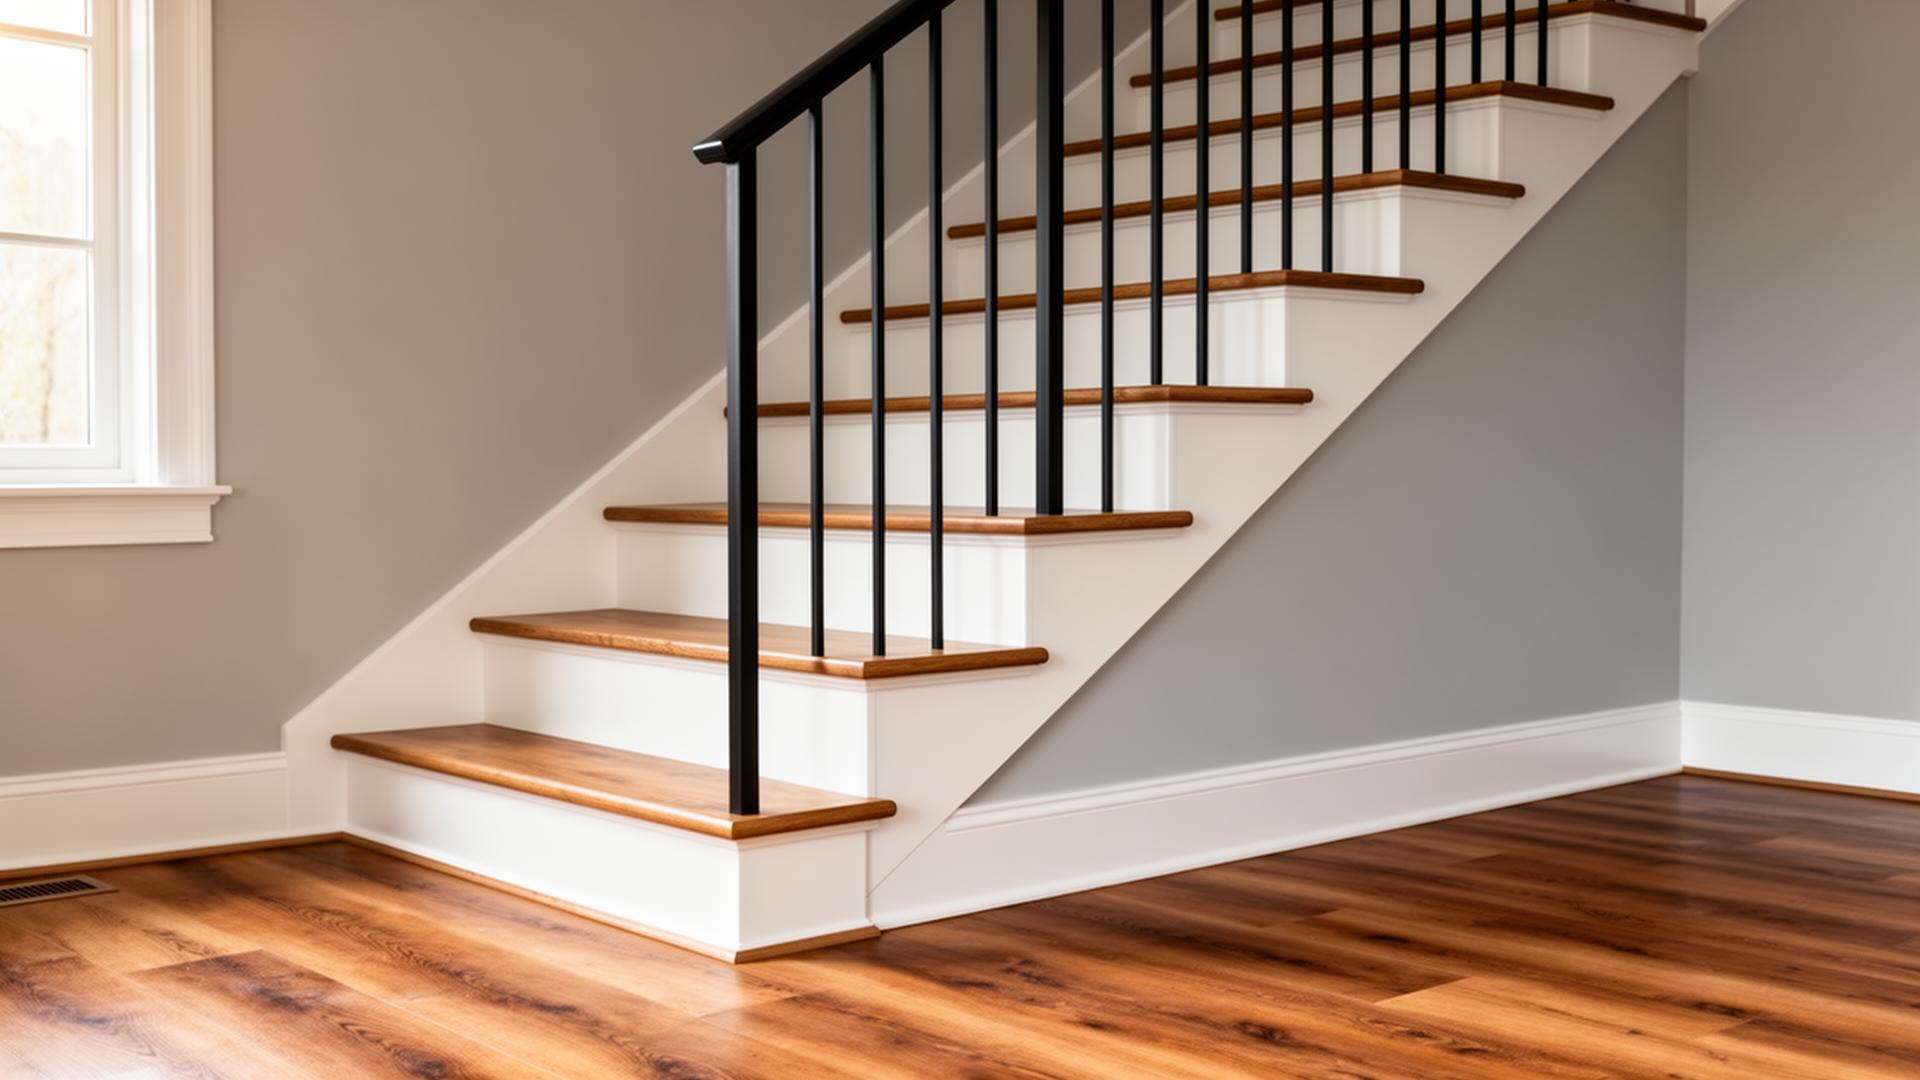
Can LVP Be Installed on Stairs?
Yes — LVP works on stairs, but it must be glued down, paired with matching stair-nose molding, and installed on a solid sub-tread. Here's what it really costs and what to watch out for.
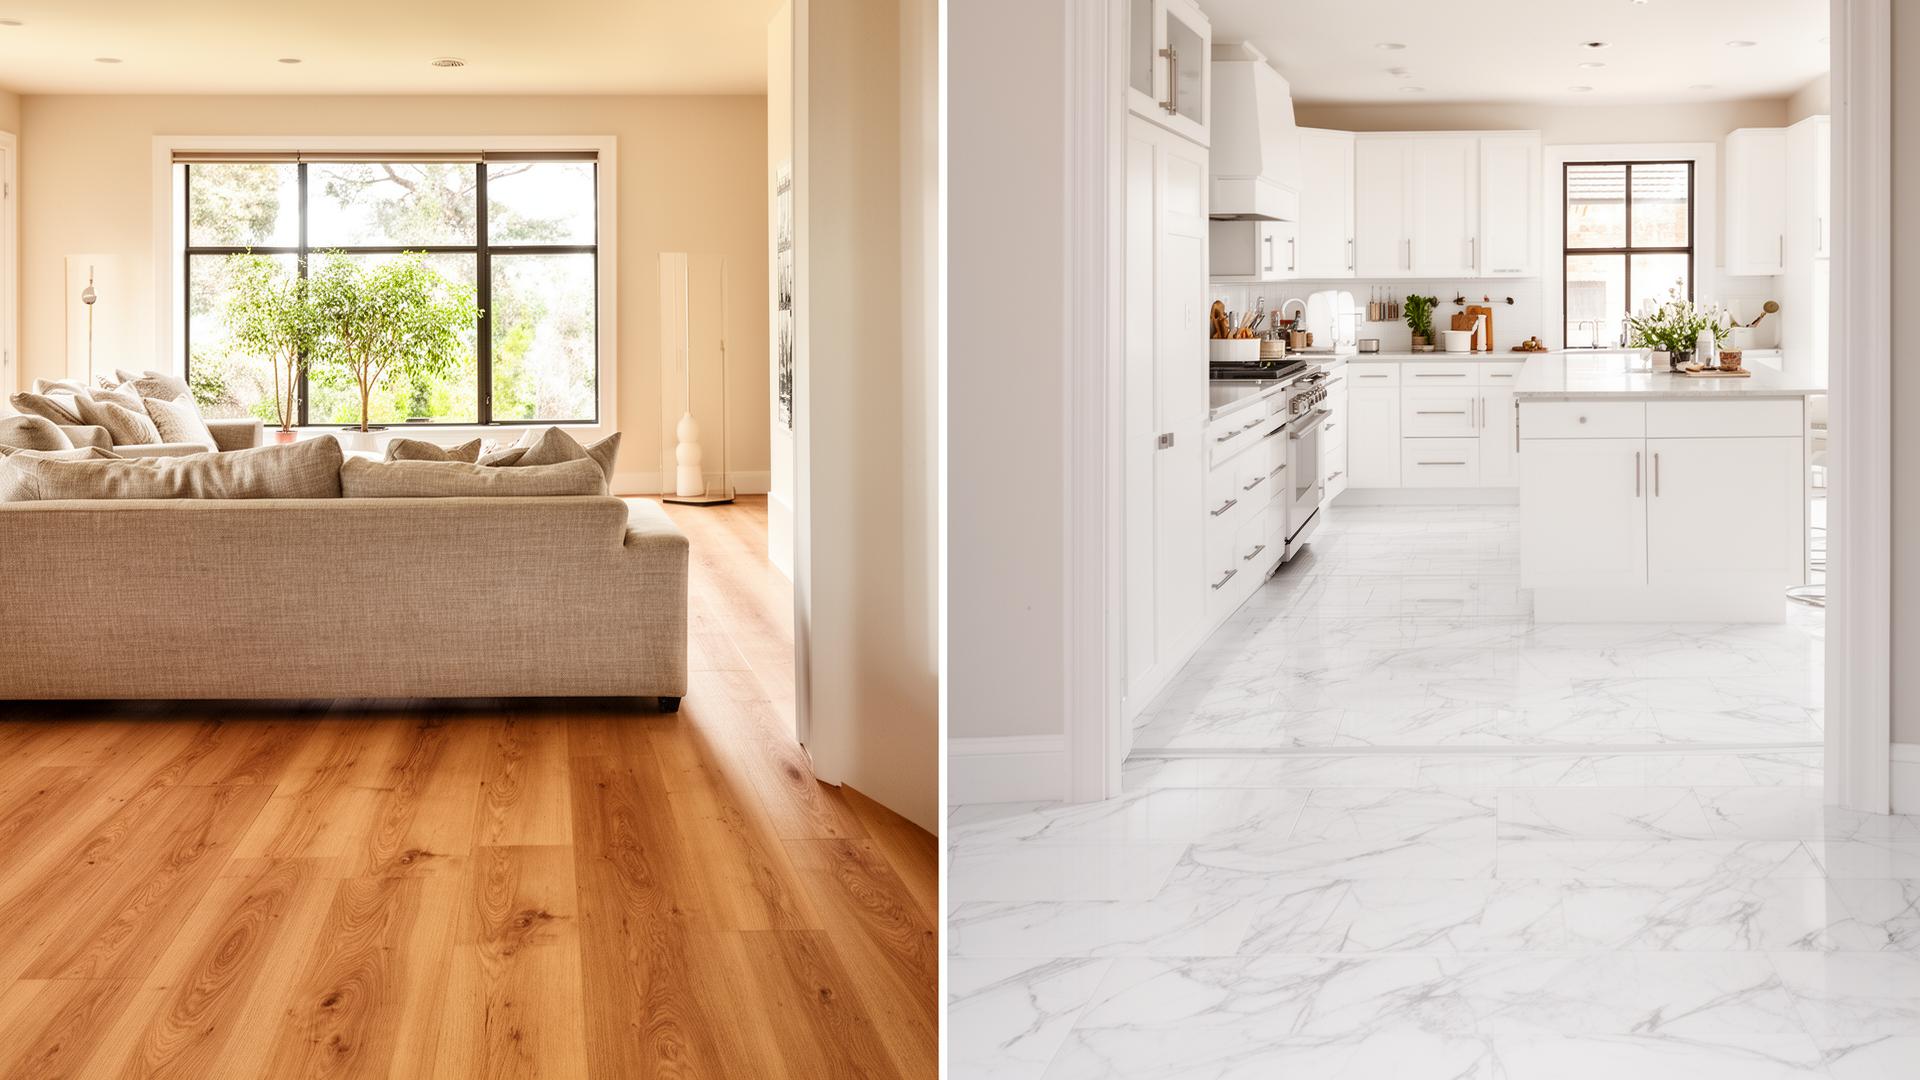
How Do I Choose Between Wood-Look and Stone-Look LVP?
A homeowner's decision guide for picking wood-look vs stone-look LVP — which visual works best in each room, what affects resale, and how to mix the two cleanly.
Should I Acclimate LVP Before Installation?
Yes — but not for the reasons you think. Here's what manufacturers actually require, how long acclimation takes, and what really happens if you skip it.