How to Prepare Your Subfloor Before LVP Installation (2026 Guide)
Bad subfloor prep is the #1 cause of LVP failure. Here is the exact 10-step process — flatness standard, moisture testing, leveling, squeak repair — that protects your floor and your warranty.

Short answer: A subfloor ready for LVP is clean, dry, flat to within 3/16" over a 10-foot span, structurally sound, and free of squeaks or movement. Skip any of these steps and you will see lippage, hollow spots, popping seams, or full plank failure within 12–24 months — and most manufacturer warranties will be voided.
This is the same 10-step process our crews follow on every LVP install. Some steps you can DIY. Others are worth hiring out. We will be clear about which is which.
Why subfloor prep matters more for LVP than people realize
LVP is thin and rigid. SPC click-lock joints are only a few millimeters of stone-plastic composite. Every dip, bump, and protrusion under the floor telegraphs straight through to the surface — and the locking joints concentrate stress at those points. A subfloor that is "good enough" for carpet is rarely good enough for LVP.
Every major LVP manufacturer (Shaw, Mohawk, COREtec, LifeProof, Mannington) specifies a flatness tolerance in their warranty. Miss it and you have no warranty claim — even if the planks themselves were defective.
The flatness standard: 3/16" over 10 feet
This is the industry-wide spec. To check it, lay an 8–10 foot aluminum straightedge across the subfloor in multiple directions. Any gap under the straightedge larger than 3/16" (about the thickness of three stacked nickels) is a low spot that needs filling. Any spot where the straightedge rocks is a high spot that needs grinding or sanding.
Walk the entire room. Pay extra attention to doorways, room transitions, and the area around floor vents — these are where flatness issues hide.
Step 1: Inspect what you have
Identify your subfloor: concrete slab (most ground floors and basements in Southern California), plywood, OSB, or existing flooring you might leave in place. Note any obvious issues:
- Visible moisture stains, efflorescence (white powder on concrete), or mold
- Squeaks or movement when you walk
- Soft spots in wood subfloor (a sign of water damage or rot)
- Cracks in concrete wider than 1/8"
- Sagging that suggests joist or structural issues
If you find soft spots, large cracks, or sagging, stop and call a structural pro before going further.
Step 2: Remove old flooring properly
Almost every LVP install starts with removal. Done wrong, this step leaves behind staples, adhesive ridges, or thinset humps that ruin flatness:
- Carpet: Pull carpet, pad, tack strip, AND every staple. A single staple head creates a permanent bump.
- Sheet vinyl: Scrape adhesive residue down to a smooth surface.
- Ceramic tile: Remove tile and grind down remaining thinset.
- Glued-down hardwood/engineered: Scrape off all adhesive.
Warning: Vinyl or tile installed before 1985 may contain asbestos. Have it tested before you disturb it.
Step 3: Clean the subfloor
Vacuum thoroughly, scrape any remaining adhesive or paint, knock down or remove fasteners that sit proud of the surface, and damp-mop concrete to lift fine dust. The goal is a surface that feels smooth under your bare hand — no grit, no bumps, no sticky spots.
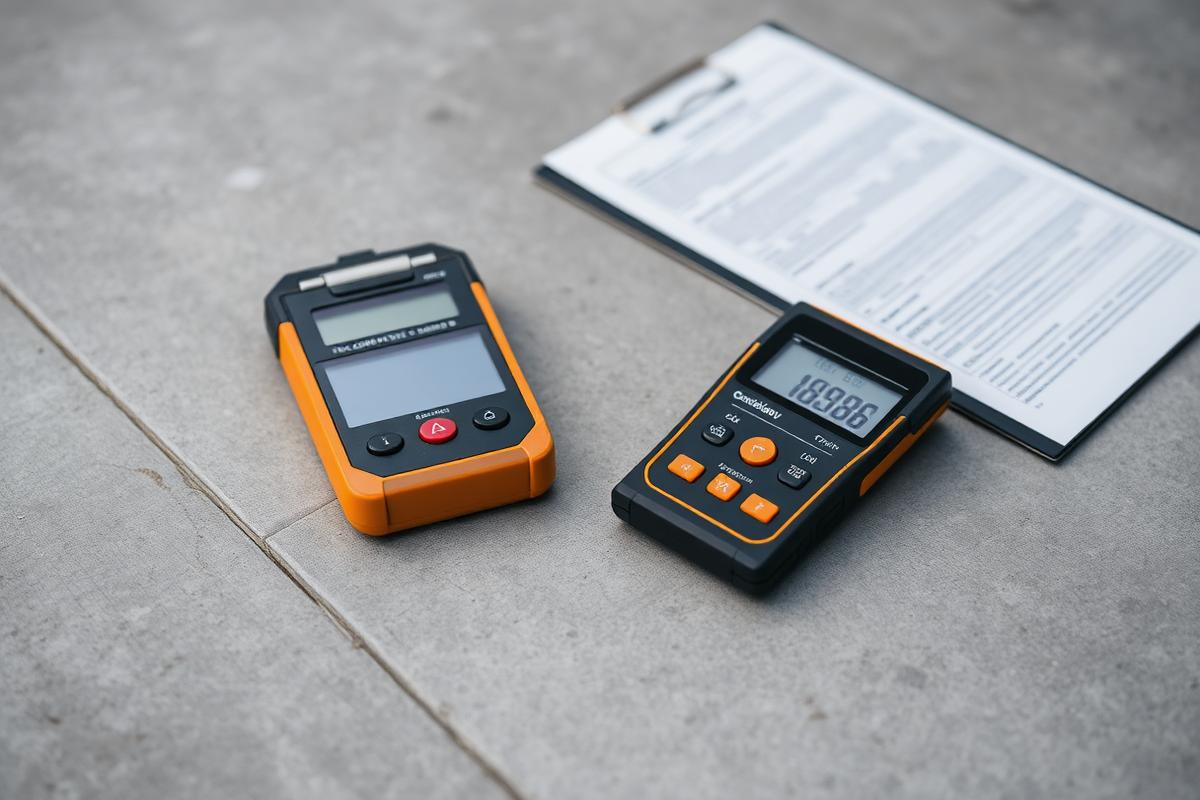
Step 4: Test for moisture (critical on concrete)
Concrete slabs release moisture for years. Install LVP over a wet slab and you trap moisture against the back of the planks — leading to mold, adhesive failure on glue-down LVP, or cupping on engineered products. Three accepted tests:
- Calcium chloride (CaCl) test: Industry standard. Acceptable: under 3 lbs / 1,000 sq ft / 24 hrs.
- In-situ RH probe test: More accurate. Acceptable: under 75% relative humidity.
- Plastic sheet method (DIY check only): Tape a 2x2 ft sheet of clear poly to the slab for 24 hrs. Condensation underneath = moisture problem. This is a screening test, not a substitute for a real test before installation.
If readings exceed spec, you need a moisture mitigation system — a 6-mil poly vapor barrier at minimum, or a moisture-vapor barrier epoxy for serious cases. Do not skip this on a Southern California ground-floor slab, even in a dry climate.
Step 5: Check flatness and mark high/low spots
Walk the room with your straightedge. Use two chalk colors — one for high spots, one for low spots. Photograph the layout before you start fixing anything; you will want the map when you are buying material and budgeting time.
Step 6: Address high spots
- Concrete: Grind down with a diamond cup wheel on an angle grinder for small bumps; rent a walk-behind concrete grinder for larger areas. Wear a respirator and use a shroud with HEPA vacuum.
- Wood subfloor: Belt-sand small humps. Replace warped panels for larger issues. Re-secure any loose subfloor with 1-5/8" deck screws driven into the joists below.
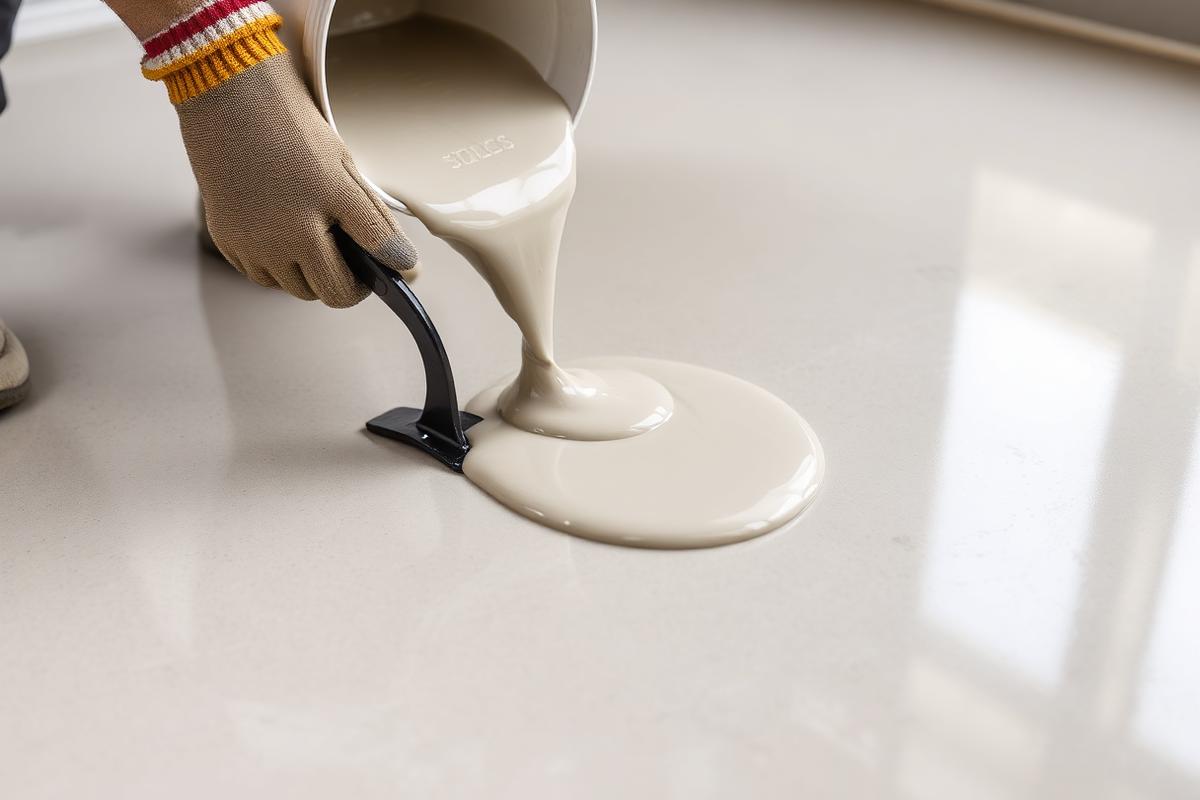
Step 7: Fill low spots and level
For dips under 1/4", a feathering-grade patching compound is fine. For anything larger, use a self-leveling underlayment (SLU):
- Prime the subfloor with the manufacturer's recommended primer.
- Mix the SLU exactly per spec — too much water destroys strength.
- Pour and spread with a gauge rake; let gravity do most of the work.
- Cure 24–48 hours before walking on it; longer before installing LVP.
SLU bonds best to concrete. On wood subfloor, you need a primer rated for wood and often a lath reinforcement — read the SLU manufacturer's wood-substrate instructions before you start.
Step 8: Fix squeaks and movement
If the subfloor moves, the LVP above it moves — and click joints eventually break. Walk the room and mark every squeak. Drive screws through the subfloor into the joist (use specialty squeak-killer screws if you cannot access the underside). If the squeak is a joist problem, not a subfloor problem, address it from the basement or crawl space.
Step 9: Install vapor barrier and underlayment
- Concrete slab: Always install a 6-mil polyethylene vapor barrier, seams overlapped 6" and taped, run up the walls 2".
- Wood subfloor over a crawl space: Vapor barrier recommended.
- Wood subfloor over a heated, finished basement: Vapor barrier usually unnecessary.
Most quality SPC LVP ships with a pre-attached IXPE or cork underlayment. Adding a second underlayment usually violates the warranty — read the spec sheet before stacking.
Step 10: Final inspection checklist
Before the first plank goes down:
- Subfloor clean, vacuumed, no protrusions
- Moisture verified within spec
- Flatness verified at 3/16" over 10 ft (re-check after leveling)
- No squeaks, no movement
- Vapor barrier in place if required
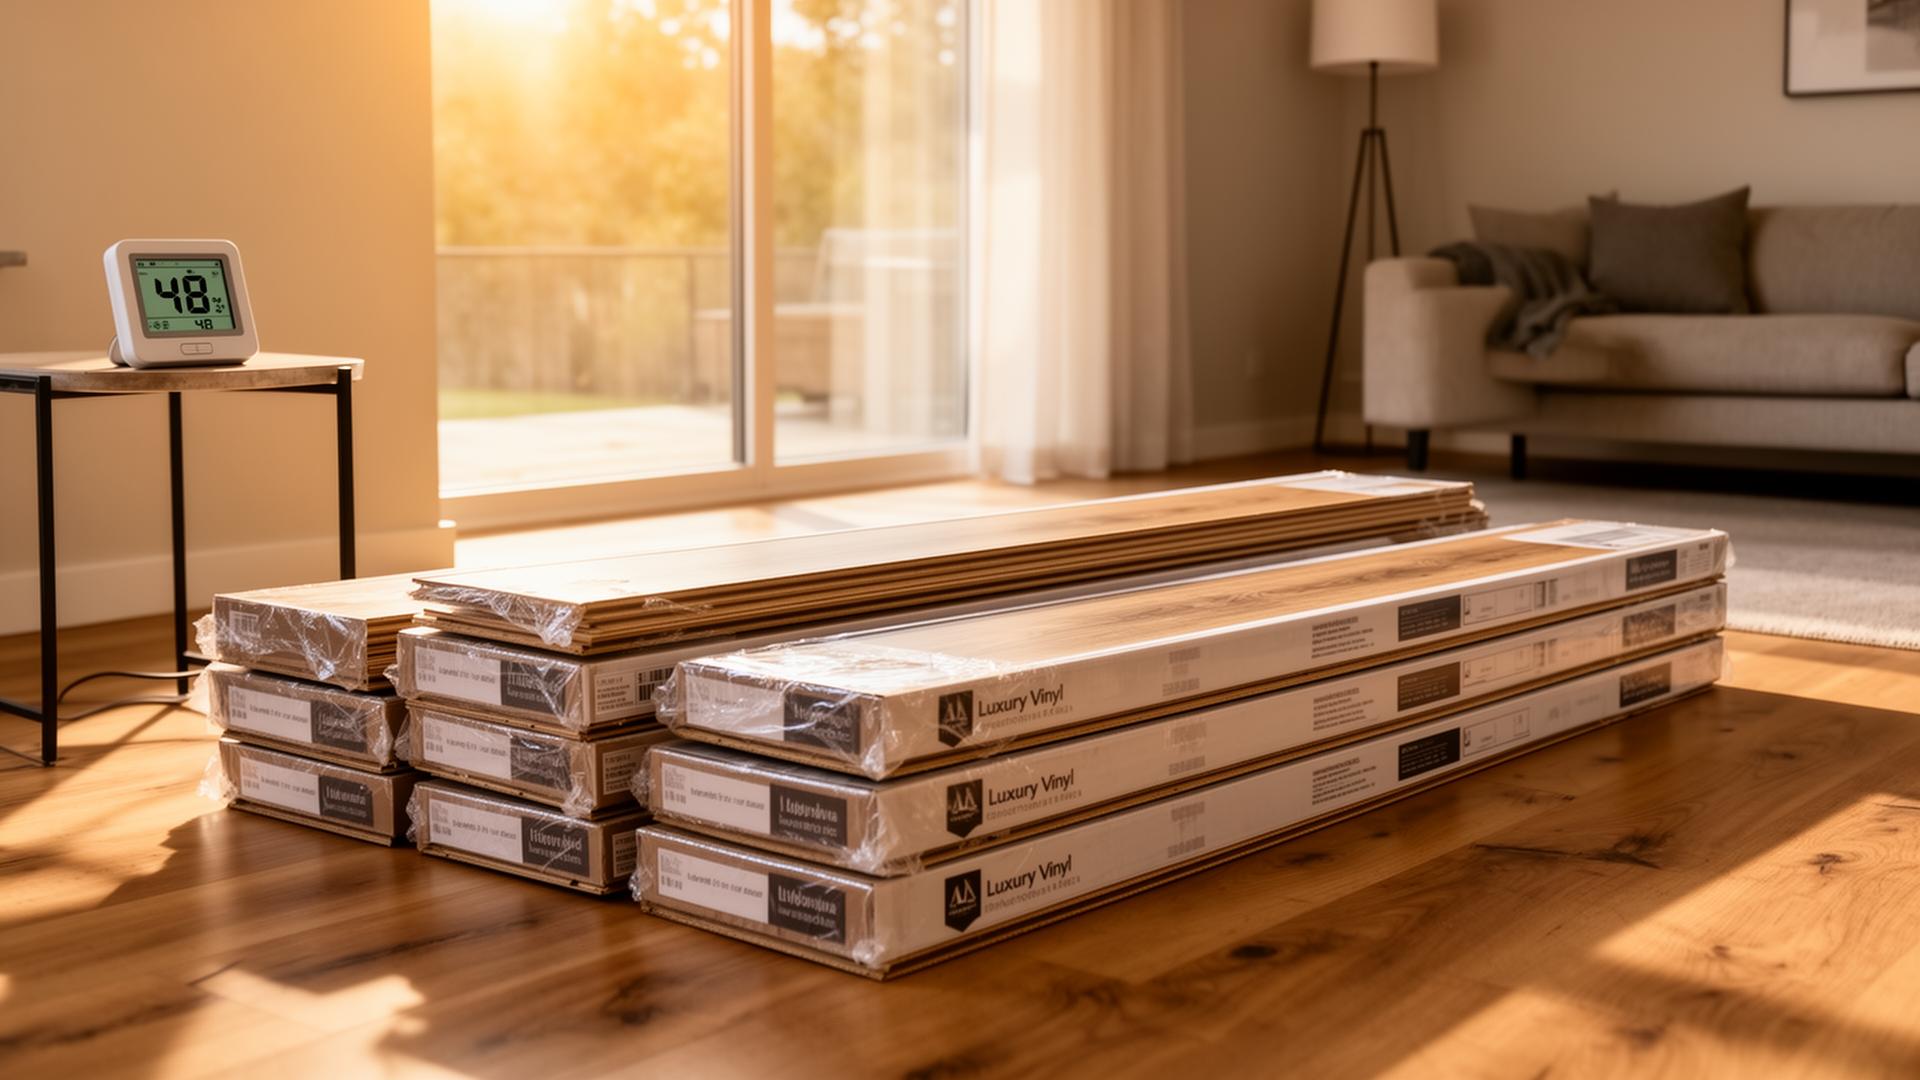
- LVP acclimated 48 hours in the room at install temperature/humidity
- Expansion gap planned (1/4"–3/8" against every vertical surface)
Common DIY mistakes that void warranties
- Skipping moisture testing on concrete
- Installing over existing sheet vinyl that is not perfectly flat and well-bonded
- Using interior patching compound on a slab with moisture issues
- Ignoring squeaks "because they are small"
- No acclimation — LVP installed the day it arrives almost always gaps in the first season
- No expansion gap, or gap covered by baseboard caulk that hardens
For a deeper look at the DIY decision, read Is LVP Flooring Easy to Install Yourself?
When to call a pro
Hire a flooring contractor for subfloor prep when you have:
- Moisture readings outside spec
- Flatness issues requiring more than 1/2" of leveling across wide areas
- Suspected structural issues (sagging, soft spots, joist movement)
- Asbestos concerns in old vinyl or tile
- Cracks in concrete wider than 1/8" or actively spreading
This is the work that determines whether your floor lasts five years or twenty-five. A good installer treats prep as a separate, itemized line on the quote — not as something hidden inside a lump-sum "installation" charge. See what makes a good LVP installer and why you should always get three itemized quotes.
The TRU Installation approach
Every TRU Installation LVP quote breaks out subfloor prep as its own line item — leveling, moisture testing, vapor barrier, squeak repair — so you see exactly what you are paying for. We use our published rates on our SPC / LVP installation service. Want a real number for your space and subfloor condition? Book a professional measurement visit and we will inspect, test, and send a fully itemized quote within 48 hours.
Still deciding between materials? Compare construction and use cases in Laminate vs LVP, or see real labor numbers in our LVP installation cost guide.
Know your flooring cost in 60 seconds.
Use our published rates to get an itemized estimate — no phone calls, no sales pressure.
Keep reading
All articles →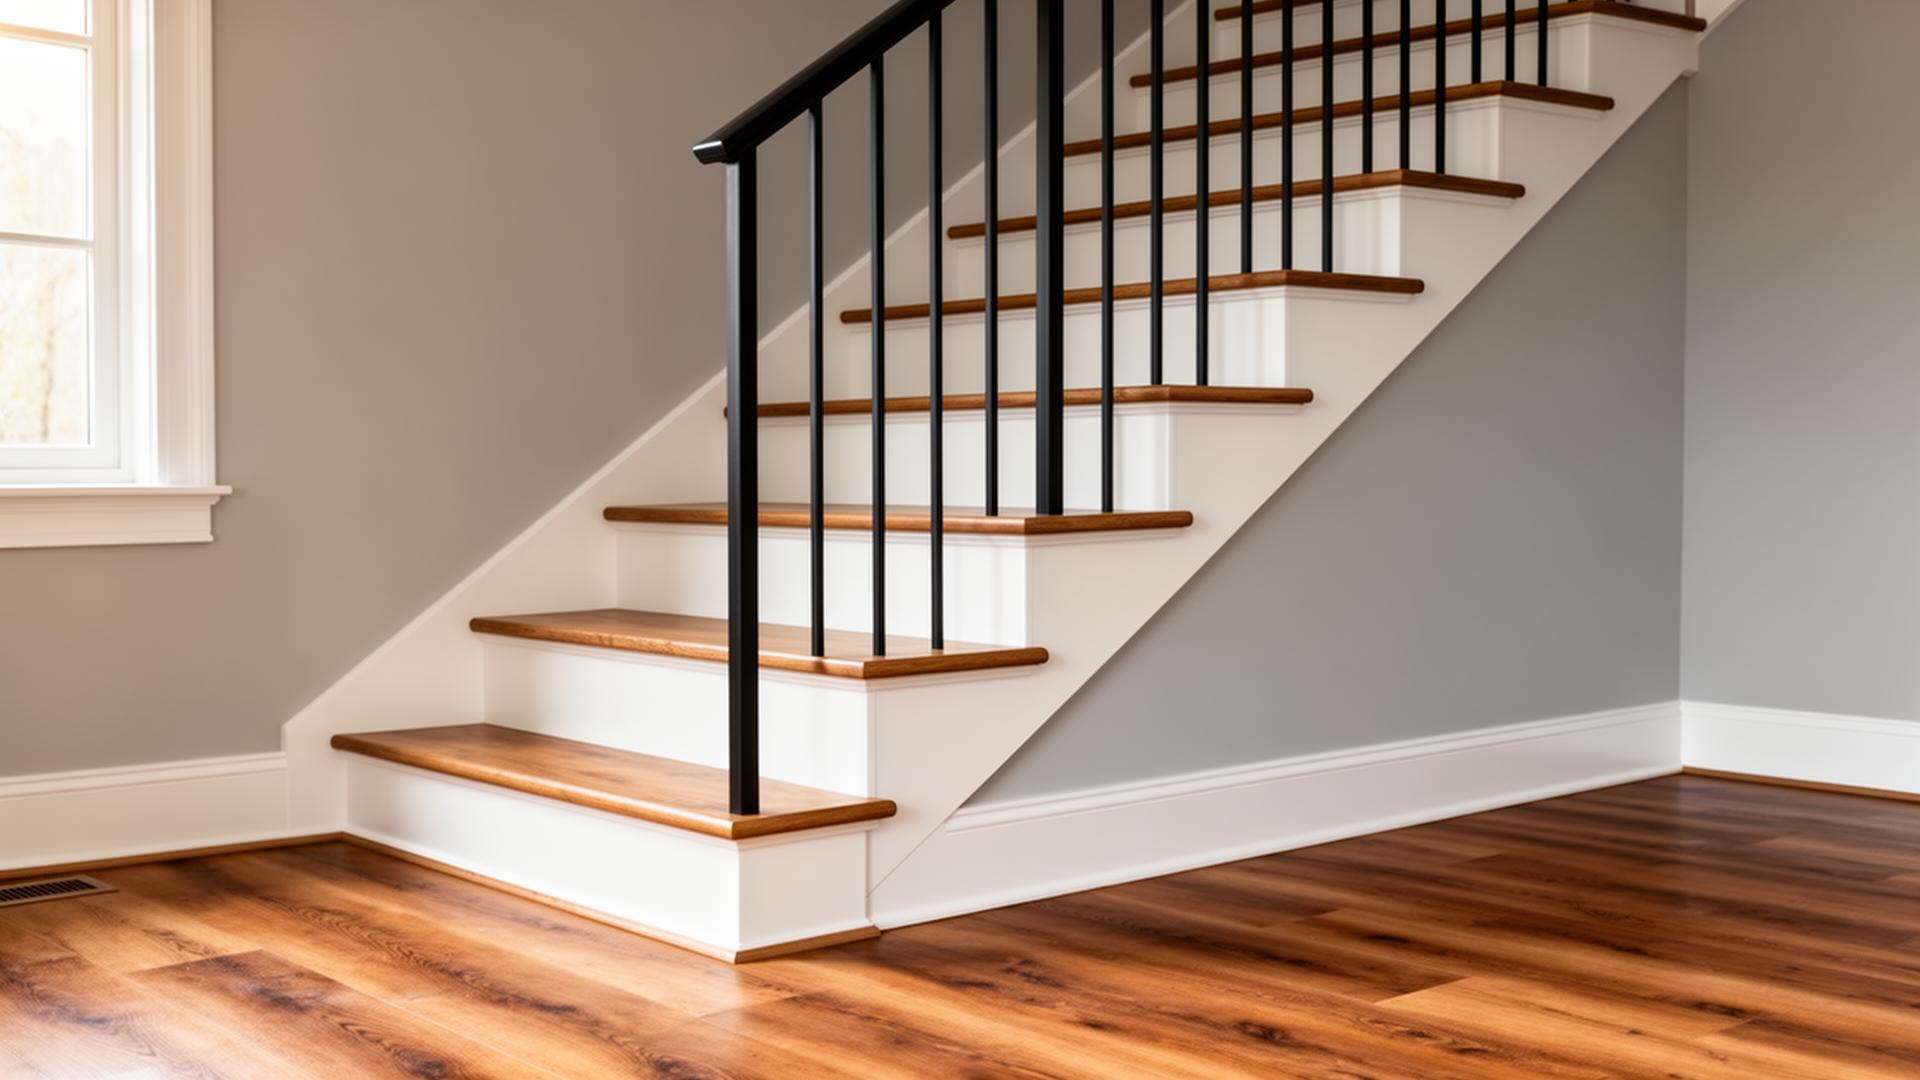
Can LVP Be Installed on Stairs?
Yes — LVP works on stairs, but it must be glued down, paired with matching stair-nose molding, and installed on a solid sub-tread. Here's what it really costs and what to watch out for.
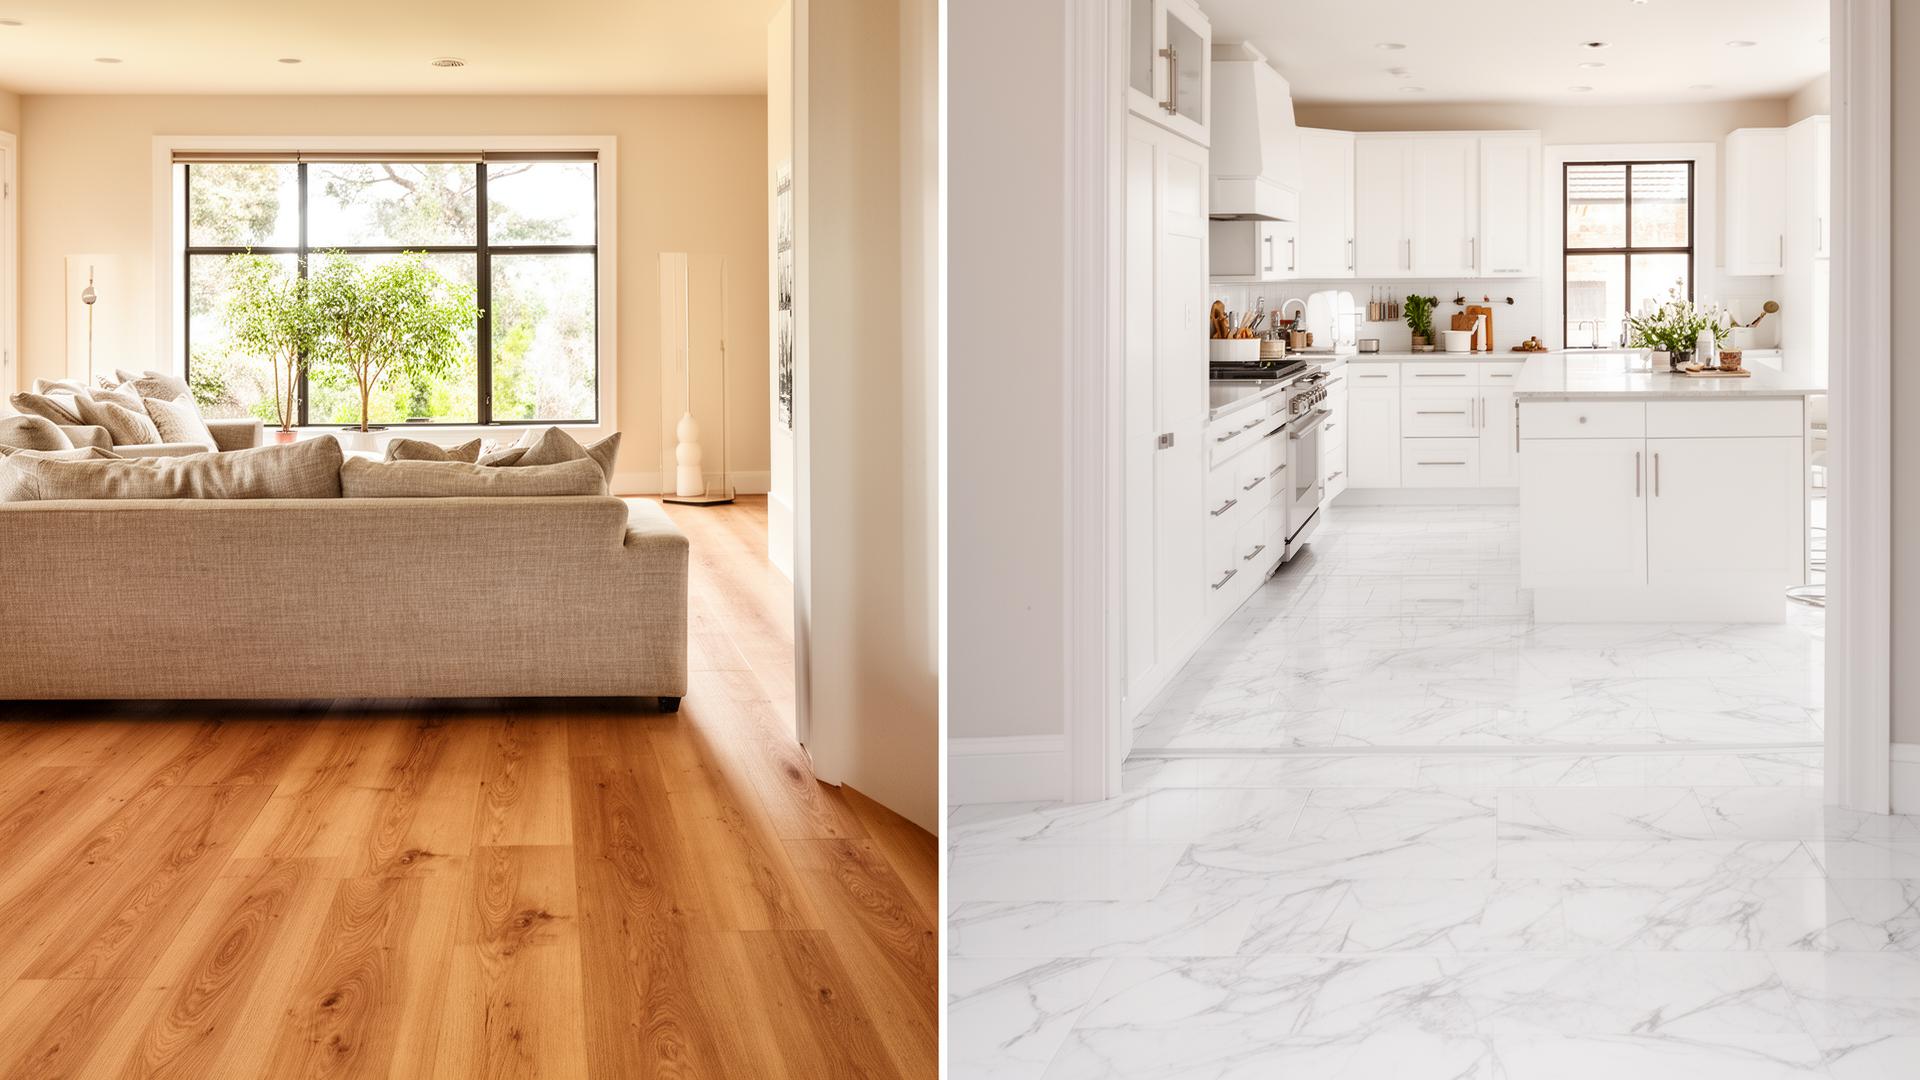
How Do I Choose Between Wood-Look and Stone-Look LVP?
A homeowner's decision guide for picking wood-look vs stone-look LVP — which visual works best in each room, what affects resale, and how to mix the two cleanly.
Should I Acclimate LVP Before Installation?
Yes — but not for the reasons you think. Here's what manufacturers actually require, how long acclimation takes, and what really happens if you skip it.