Is LVP Flooring Easy to Install Yourself? An Honest DIY Guide
LVP looks easy on YouTube — but is it really DIY-friendly? An honest breakdown from pro installers on what is simple, what trips up homeowners, and when to call a pro.
Short answer: LVP is one of the easiest floors to install yourself — if the room is small, square, and the subfloor is already flat. For most real homes (multiple rooms, doorways, stairs, uneven concrete, old flooring to rip out), DIY LVP turns into a much bigger job than the YouTube videos suggest. After installing hundreds of thousands of square feet across Los Angeles and Ventura County, here is the honest breakdown.
What "easy" actually means
Manufacturers and big-box retailers love the phrase "click together like LEGOs." That is technically true for the planks themselves. What they leave out is everything that happens before the first plank goes down and everything that happens around the edges — and that is where 90% of the difficulty lives.
So when we say LVP is "easy," what we really mean is: the plank-to-plank installation is beginner-friendly. The project around it is not.
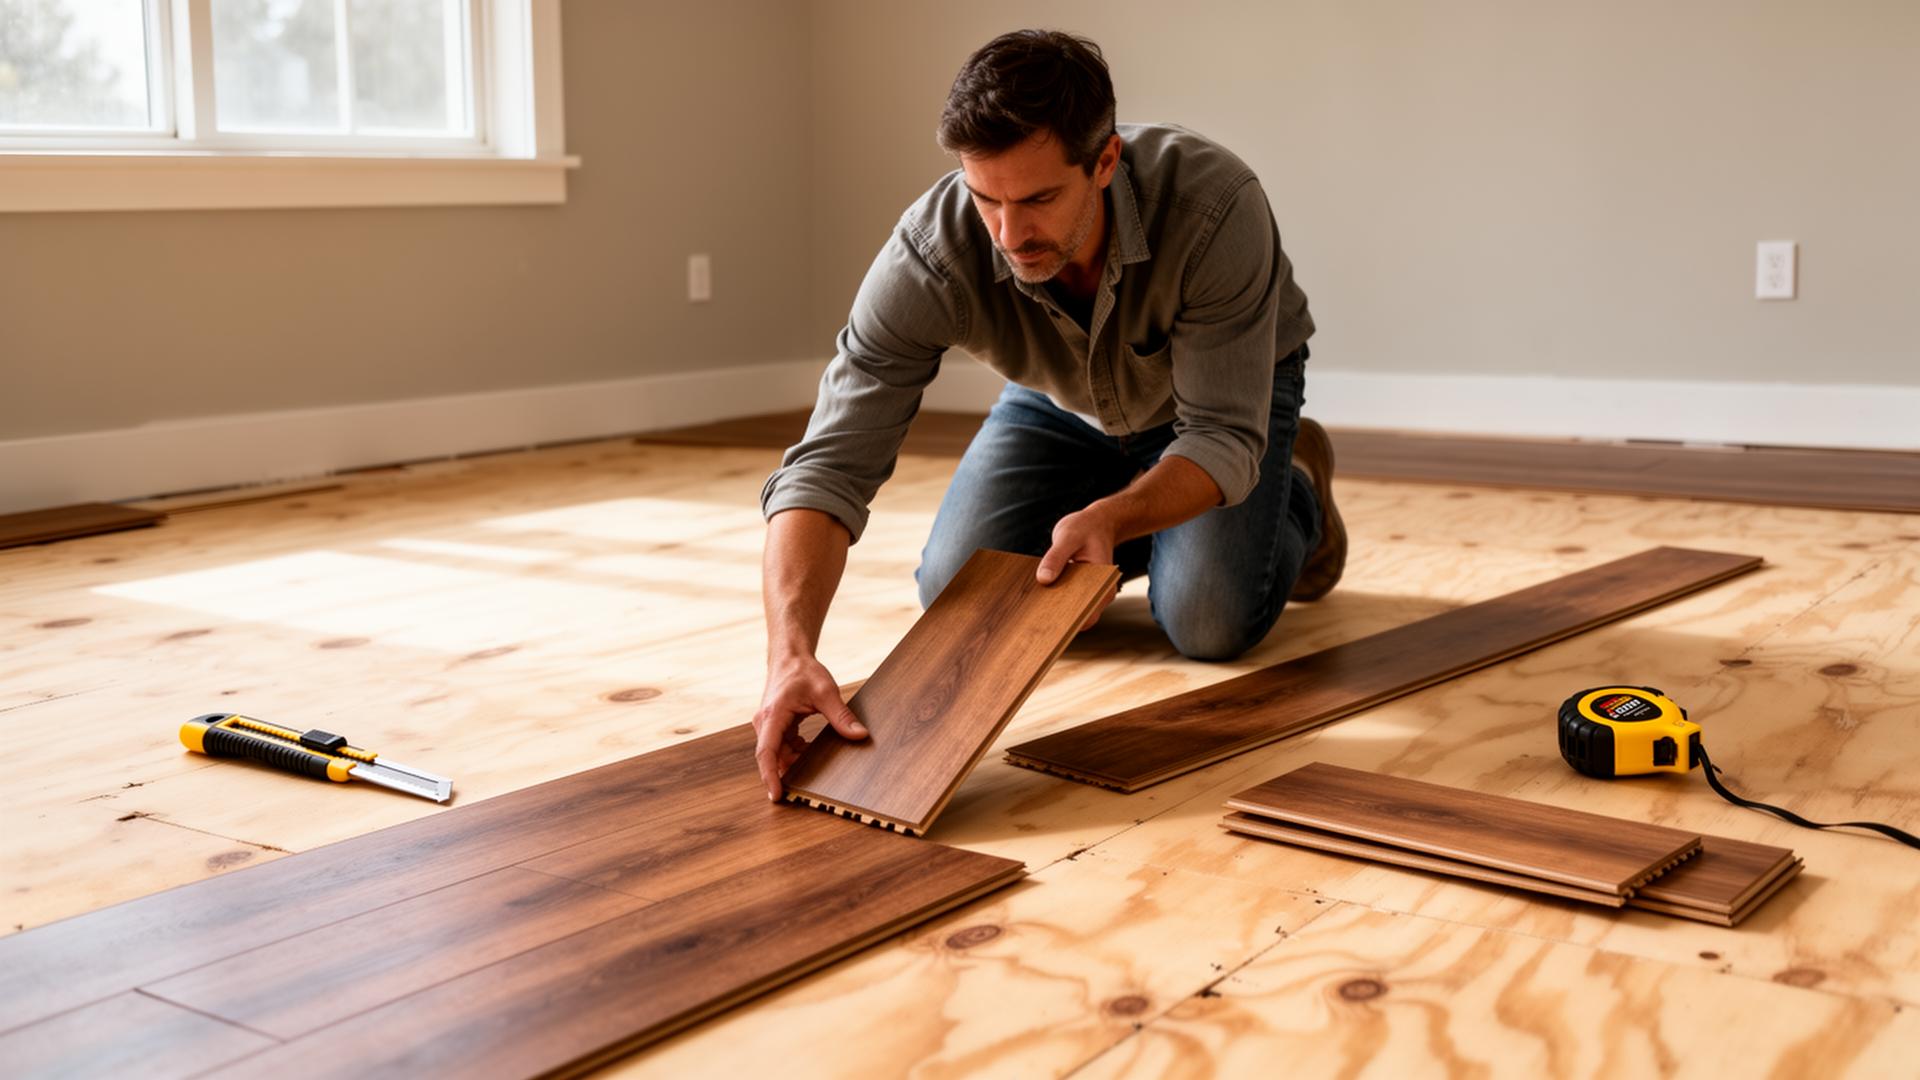
5 things that are genuinely easy about LVP
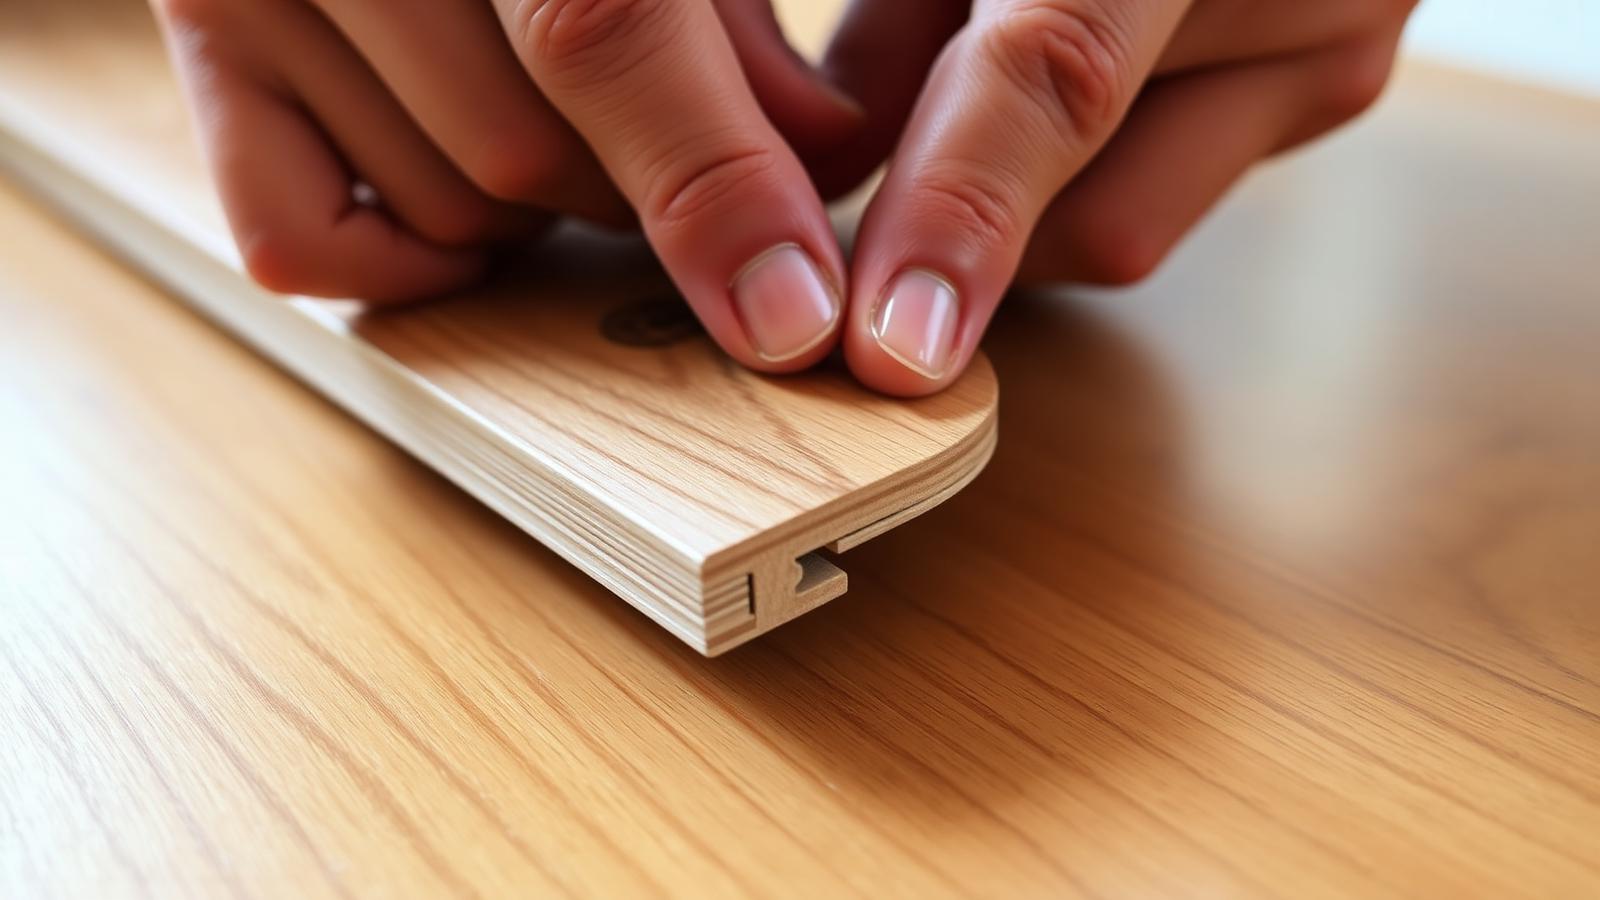
- The click-lock mechanism. Modern LVP uses an angle-and-drop or angle-and-tap joint. Line up the tongue, drop or tap, done. No mallet swing required for most brands.
- No nails, no glue. Floating installation means no nail gun, no compressor, no troweled adhesive, no fumes. The floor sits on top of the subfloor and is held in place by its own weight and the perimeter.
- Straight cuts with a utility knife. SPC and most LVP score-and-snap with a sharp blade. You only need a saw for notches, door jambs, and stair nosings.
- Forgiving on small mistakes. Drop a plank wrong? Lift the row, re-click, keep going. Unlike hardwood (nailed) or tile (set in thinset), LVP is largely re-do-able.
- Light tool list. Most homeowners already own 60% of what they need: tape measure, utility knife, square, pencil, rubber mallet, pry bar.
The 7 things that trip up DIYers
This is the part the YouTube tutorials skim. These are the issues we actually get called to fix.
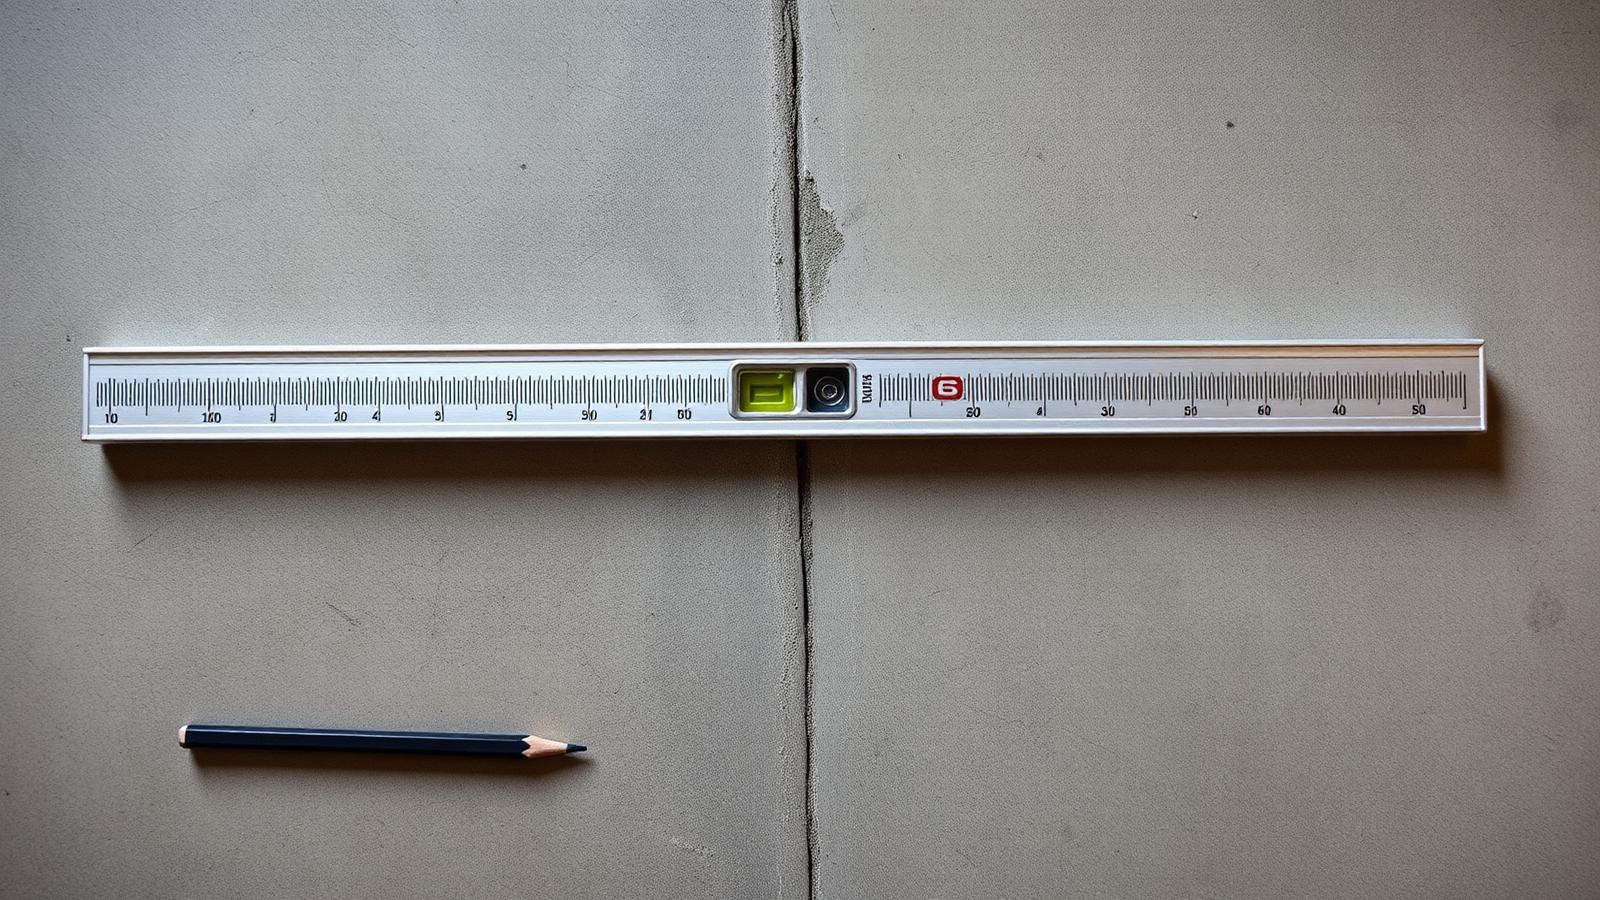
1. Subfloor flatness
LVP requires the subfloor to be flat within 3/16" over a 10-foot span. Most homes — especially older ones in the LA basin and Conejo Valley — are not. Concrete slabs heave, plywood subfloors cup, and old tile leaves uneven thinset behind. Flattening requires self-leveling underlayment (concrete) or floor patch / sanding (wood). This single step is what separates a floor that lasts 20 years from one that telegraphs every dip and develops hollow spots.
2. Moisture testing on concrete
Concrete slabs in Southern California — especially homes built on grade in Northridge, Woodland Hills, and parts of Ventura — release moisture vapor for decades. Installing LVP over a slab without a calcium chloride or RH test is a coin flip. Too much moisture and the floor cups, the click joints fail, and mold forms underneath.
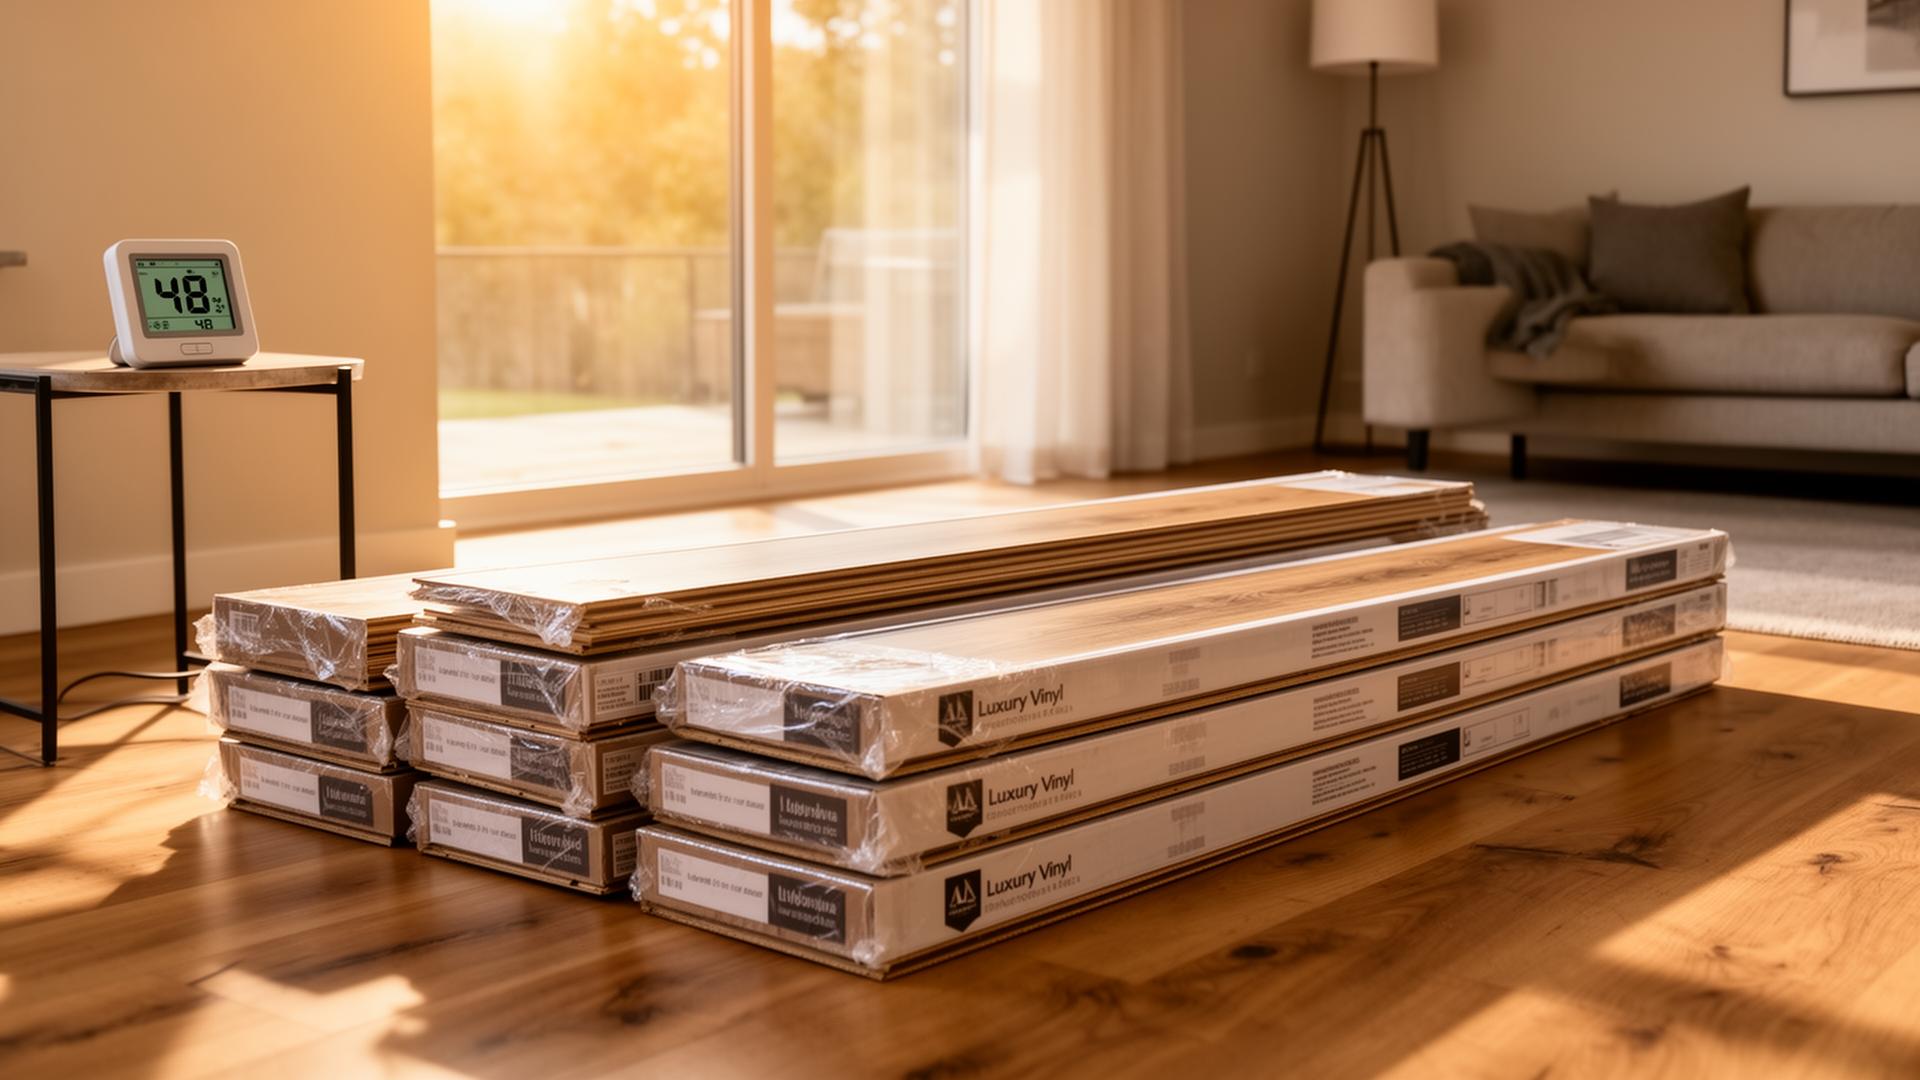
3. Acclimation
LVP and SPC need to sit in the room they will be installed in for 48 hours minimum (some brands require 72) at normal living temperature. Skip this and the planks expand or contract after installation — that is what causes gaps and peaking a month later.
4. Expansion gaps
Floating floors must have a 1/4" to 3/8" gap around every fixed object: walls, cabinets, door jambs, pipes, fireplaces. Too tight, the floor buckles in summer humidity. Too loose, the baseboard does not cover it. This is the #1 reason DIY floors fail.
5. Door jambs and undercuts
Plank does not go around a door casing — it goes under it. Cutting jambs with a flush-cut saw is straightforward once you have done it five times. The first three are slow, and any mistake is visible from the hallway forever.
6. Transitions, stairs, and irregular rooms
T-moldings, reducers, stair nose pieces, and end caps each require their own measuring, mitering, and fastening. Stairs alone can add 8–12 hours of finicky work per flight. Galley kitchens with islands, bathrooms with vanities, and rooms with closets multiply the complexity fast.
7. Tearing out the old floor
Removing tile, glued-down vinyl, or carpet with tack strips is brutal physical work. A 600 sq ft tile demo can take a 2-person crew an entire day, generate a half-ton of debris, and require a dumpster permit. Most DIYers underestimate this step by 3x.
DIY tool & cost reality check
Here is what a real DIY LVP project costs — not the optimistic "$50 in tools" number.
| Item | Realistic DIY Cost |
|---|---|
| Pull bar, tapping block, spacers kit | $30 – $50 |
| Quality utility knife + spare blades | $25 |
| 6-ft level (for subfloor check) | $40 – $80 |
| Oscillating multi-tool (door jambs) | $80 – $150 |
| Miter saw or jigsaw (rentable) | $50/day rental or $150+ buy |
| Self-leveling compound (if needed) | $1 – $2 per sq ft |
| Transition strips, quarter-round, caulk | $80 – $200 |
| Knee pads, dust mask, eye pro | $40 |
| Total tool & sundry budget | $300 – $700 |
DIY vs. Pro: 1,000 sq ft example
| Cost | DIY | Pro (TRU Installation) |
|---|---|---|
| LVP material (mid-grade, ~$3/sf) | $3,000 | $3,000 |
| Tools & sundries | $400 | $0 (included) |
| Labor | ~60–80 hours of your time | $2,500 – $3,500 |
| Subfloor prep (if needed) | $300 – $1,500 | Quoted in estimate |
| Old floor removal & haul-away | $200 + dumpster + your weekend | Quoted in estimate |
| Warranty risk | On you | On us (labor) + manufacturer (material) |
For a 1,000 sq ft project, hiring a pro typically costs $2,500–$3,500 in labor versus 2–3 weekends of your own time, plus the tool investment, plus the risk that one mistake voids your $3,000 material warranty. See our full per-square-foot LVP cost breakdown for a deeper dive.
When DIY actually makes sense
- Single bedroom or office under 200 sq ft
- Square room with no closets, no door jambs to undercut, no stairs
- Subfloor is already flat (you have checked with a 6-ft level)
- No old flooring to remove, or just carpet
- You have a weekend you actually want to spend doing this
When to hire a pro
- Whole-house or 800+ sq ft project
- Concrete subfloor (moisture risk + leveling)
- Removing tile, glued vinyl, or hardwood
- Multiple rooms with doorways and transitions
- Stairs of any kind
- Your floor came with a labor warranty contingent on professional install
- You value your back, weekends, and the resale value of your home
The DIY mistakes we get called to fix
- Peaking floors — planks pushed against baseboards with no expansion gap, lifting in mid-summer.
- Hollow spots — subfloor dips that were never flattened; planks flex and the click joints eventually crack.
- Gaps opening between rows — skipped acclimation, or planks installed in a cold garage and moved into a warm house.
- Water damage under the floor — moisture barrier skipped on a slab, or an underlayment with no vapor protection in a bathroom-adjacent install.
- Voided warranties — manufacturer denies a claim because installation did not follow their documented spec.
The fix is almost always a partial or full tear-out and reinstall. At that point you are paying for the floor twice.
Bottom line
LVP is the most DIY-friendly hard-surface flooring on the market. That does not make it easy — it makes it possible. For a small, simple room with a good subfloor, give it a weekend. For anything bigger, the labor savings rarely justify the time, tool cost, and warranty risk. If you want a transparent number before you decide, use our instant estimate calculator or see how our SPC / LVP installation works — no phone calls, no sales pressure.
Still shopping around? Read local flooring store vs. big-box retailer for LVP next.
Know your flooring cost in 60 seconds.
Use our published rates to get an itemized estimate — no phone calls, no sales pressure.
Keep reading
All articles →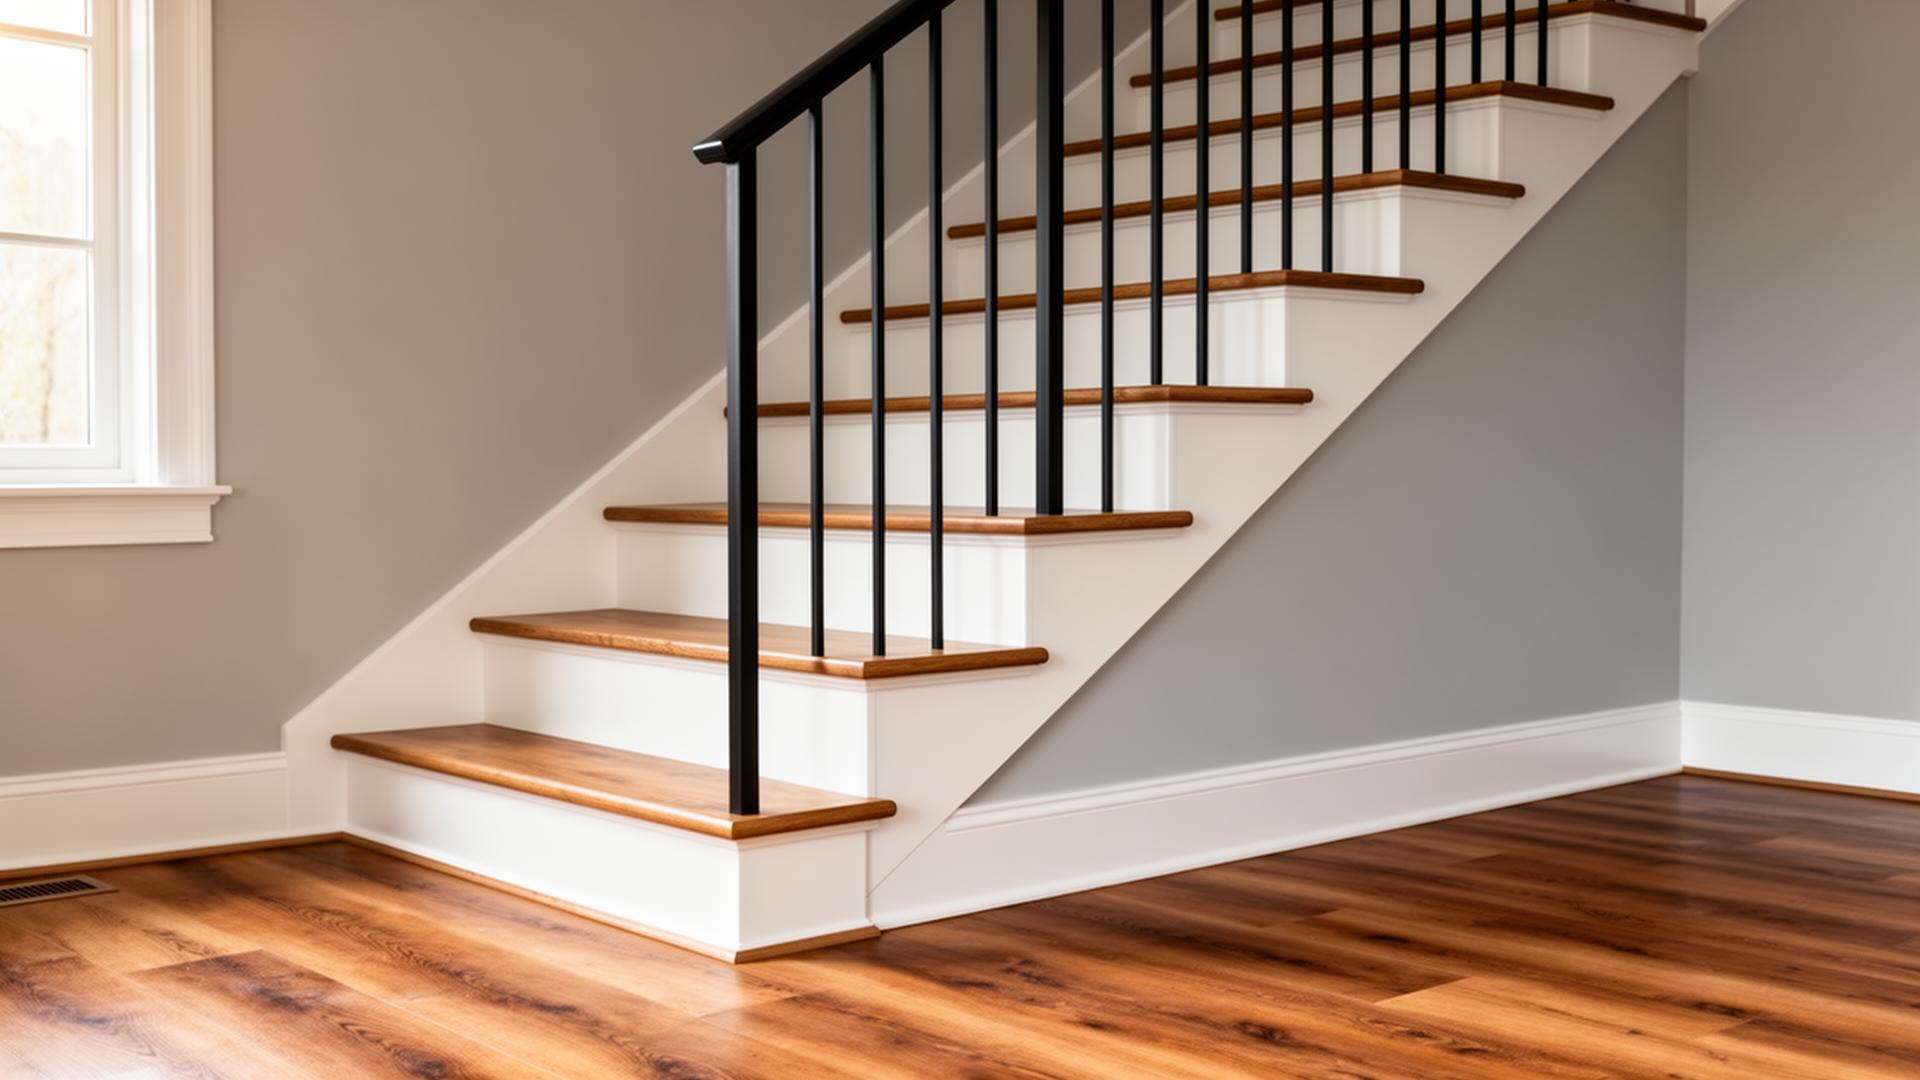
Can LVP Be Installed on Stairs?
Yes — LVP works on stairs, but it must be glued down, paired with matching stair-nose molding, and installed on a solid sub-tread. Here's what it really costs and what to watch out for.
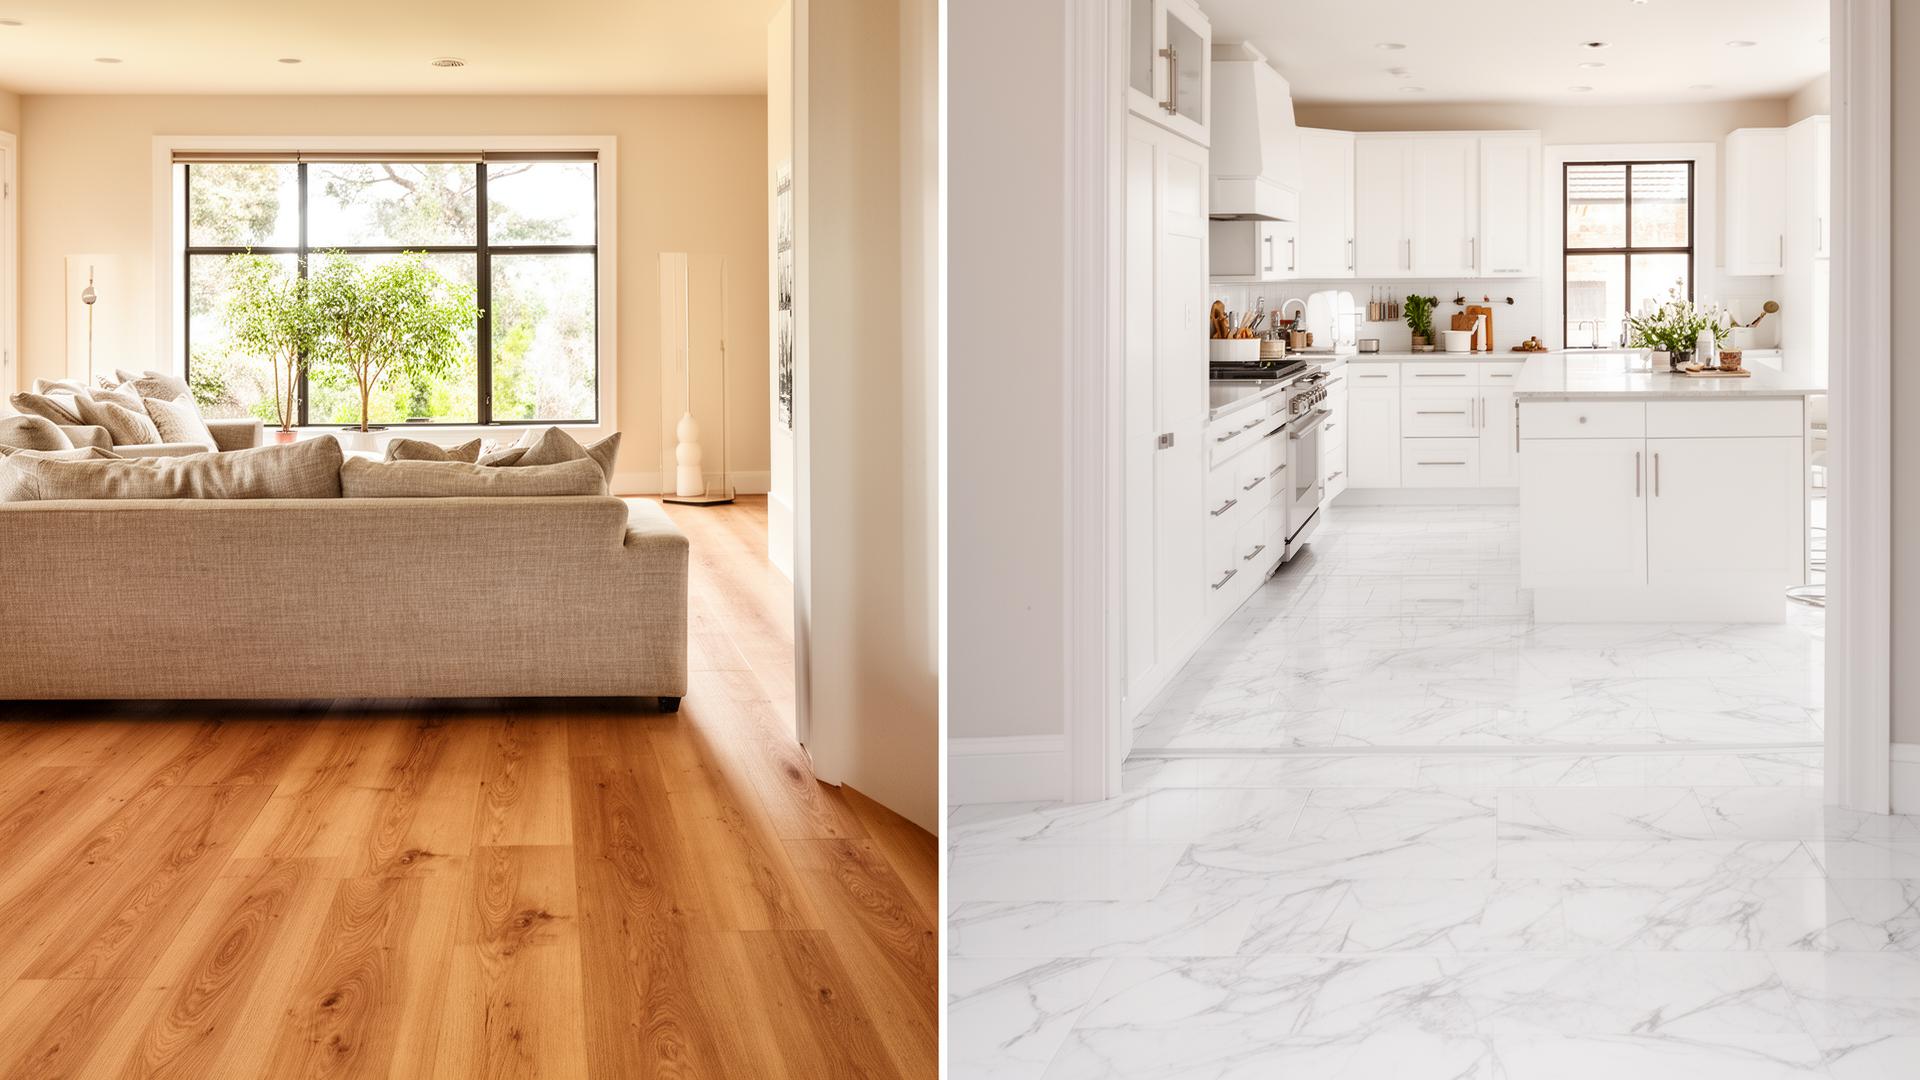
How Do I Choose Between Wood-Look and Stone-Look LVP?
A homeowner's decision guide for picking wood-look vs stone-look LVP — which visual works best in each room, what affects resale, and how to mix the two cleanly.
Should I Acclimate LVP Before Installation?
Yes — but not for the reasons you think. Here's what manufacturers actually require, how long acclimation takes, and what really happens if you skip it.