How Long Does Professional LVP Installation Take? A Room-by-Room Timeline
Most LVP installs finish in 1–3 days. Here is the room-by-room timeline, what each day looks like, and the six factors that change the schedule.

Most residential LVP installations take a professional crew 1 to 3 days from start to finish. A first-time DIYer doing the same job? Plan on 2 to 5 times longer. The real timeline depends on square footage, what's already on your floor, and how flat your subfloor is — not the planks themselves.
Below is the room-by-room breakdown homeowners actually want, plus the six variables that move the schedule, what each day of a typical project looks like, and where DIY usually loses time.
The short answer: room-by-room timelines
These ranges assume a two-person pro crew, click-lock floating LVP, and a subfloor that's already in reasonable shape.
| Project | Pro time | Solo DIY time |
|---|---|---|
| Small bathroom (50–80 sq ft) | 3–5 hours | 1–2 days |
| Bedroom (120–180 sq ft) | 4–8 hours | 1.5–2 days |
| Living room (250–400 sq ft) | 1–2 days | 3–5 days |
| Full ground floor (800–1,200 sq ft) | 2–3 days | 1–2 weekends + weekdays |
| Whole house (2,000+ sq ft) | 3–5 days | 3–4+ weekends |
Add roughly one day if existing flooring has to come out first. Add another one to two days if the subfloor needs self-leveler or significant patching — leveling compound has to dry before planks can go down.
Want a real number for your home and floor type? Get an instant itemized estimate in 60 seconds using our published rates.
Six factors that change your LVP installation timeline
1. Square footage (the obvious one)
A two-person pro crew lays roughly 200–400 sq ft per day in real-world conditions — slower in small, choppy rooms and faster across open spaces. Very large jobs (3,000+ sq ft) don't scale linearly because cuts, transitions, and door jambs multiply.
2. Existing floor removal
Tear-out time varies wildly by surface:
- Carpet and pad: Fastest — a few hundred sq ft per hour.
- Laminate (floating): Easy — unclick and stack.
- Glued-down vinyl or VCT: Slow — scraping plus adhesive residue.
- Ceramic tile: Slowest — demolition, dust control, and disposal can add a full day.
If you're keeping the existing floor, see our guide to installing LVP over your existing floor for which surfaces qualify.
3. Subfloor prep
This is the silent killer of timelines. LVP needs a subfloor flat to 3/16 inch over 10 feet. If it isn't, the fix is patching compound or self-leveler — and leveler typically needs 4–24 hours to cure before planks can go down. Our subfloor prep guide covers what's involved.
4. Room shape and complexity
A 300 sq ft open living room installs faster than 300 sq ft split between three small rooms with closets, doorways, and a hallway. Every closet, jog in the wall, and door jamb is a cut. Plan on the choppier layout taking 30–50% longer.
5. Stairs and transitions
Stairs are slow. Each stair tread takes 15–30 minutes including the riser, nosing, and finish. A standard flight adds half a day to a full day depending on whether stair noses are stocked or special-order. Transition strips between rooms or to other flooring types add cutting and fitting time.
6. Crew size
A two-person crew is standard. A solo installer is roughly 60% as fast — not 50%, because one person can do everything except holding the long end of a measurement. DIY solo is even slower because of trips to the saw, measurement double-checks, and learning curve.
What actually happens each day on a typical 3-day job
Here's the rhythm of a pro install on a 1,000 sq ft ground floor with existing carpet to remove:
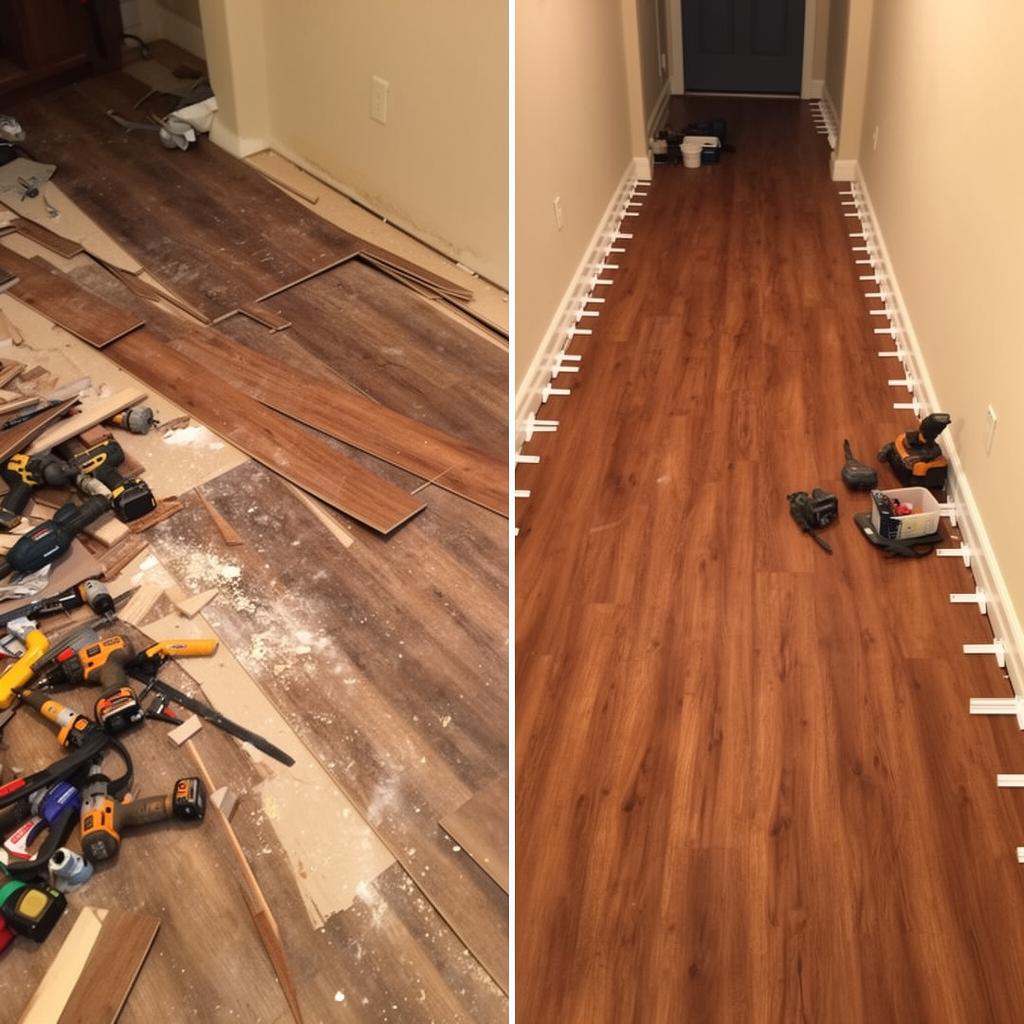
Day 1 — Demo and prep
- Furniture moved and protected (or moved out the day before)
- Existing carpet, pad, and tack strip removed and hauled out
- Subfloor swept, inspected for damage, screws driven into squeaks
- Moisture test on slab if applicable
- Self-leveler or patching where needed (set overnight)
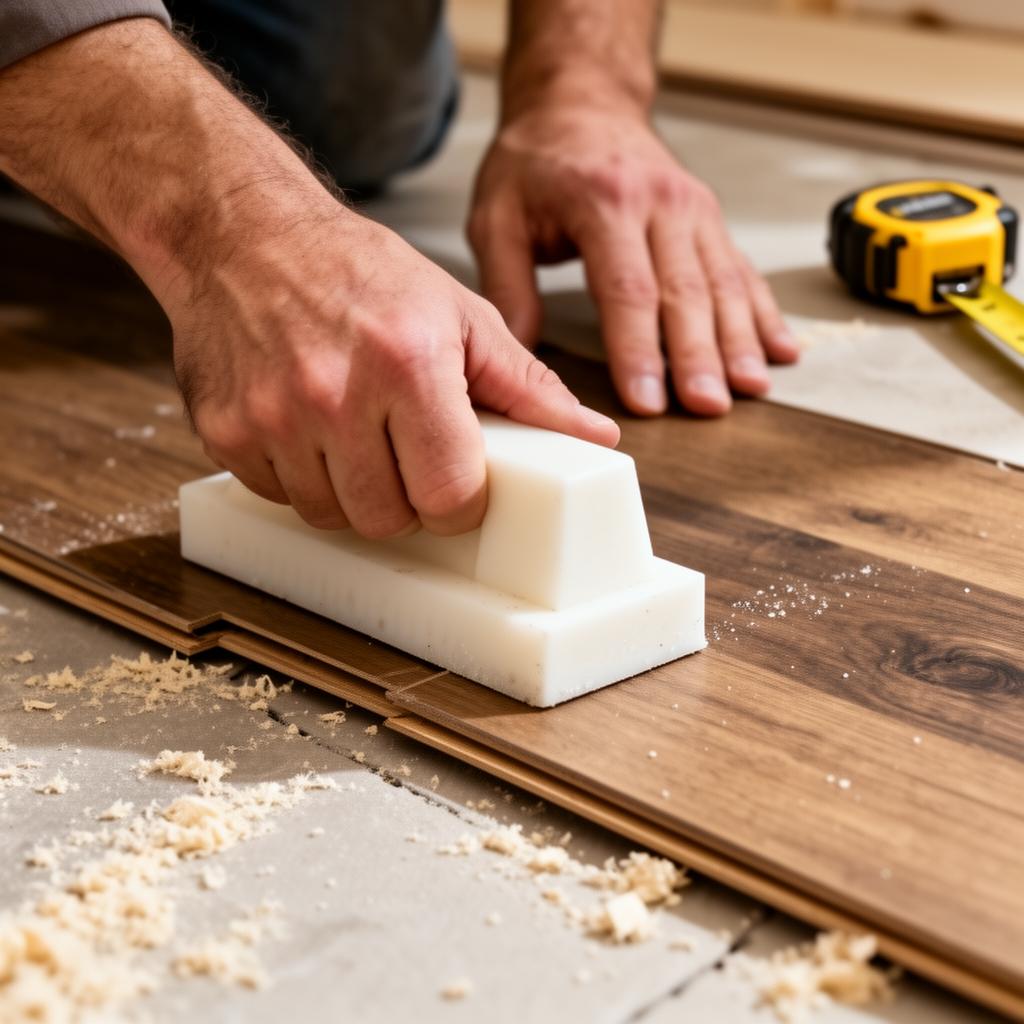
Day 2 — Layout and main install
- Final layout snapped — first row, expansion gaps, plank direction
- Underlayment rolled out (if separate, not attached)
- Main field of planks installed across living spaces and hallway
- Cuts staged for the next day's tricky areas
Day 3 — Finish work and cleanup
- Finish cuts around door jambs, vents, cabinets, closets
- Transition strips installed between rooms
- Baseboards or quarter-round reinstalled or replaced
- Full vacuum, walk-through, touch-ups
- Furniture moved back (often the next day)
Prep time vs. install time — don't confuse them
When homeowners ask "how long does LVP take to install," they usually mean total project time. Pros think in two phases: prep (demo, subfloor work, moisture testing) and install (actually laying planks). On older homes with uneven slabs or multiple flooring layers, prep can easily equal or exceed install time. On a new-construction subfloor, prep is almost zero and install flies.
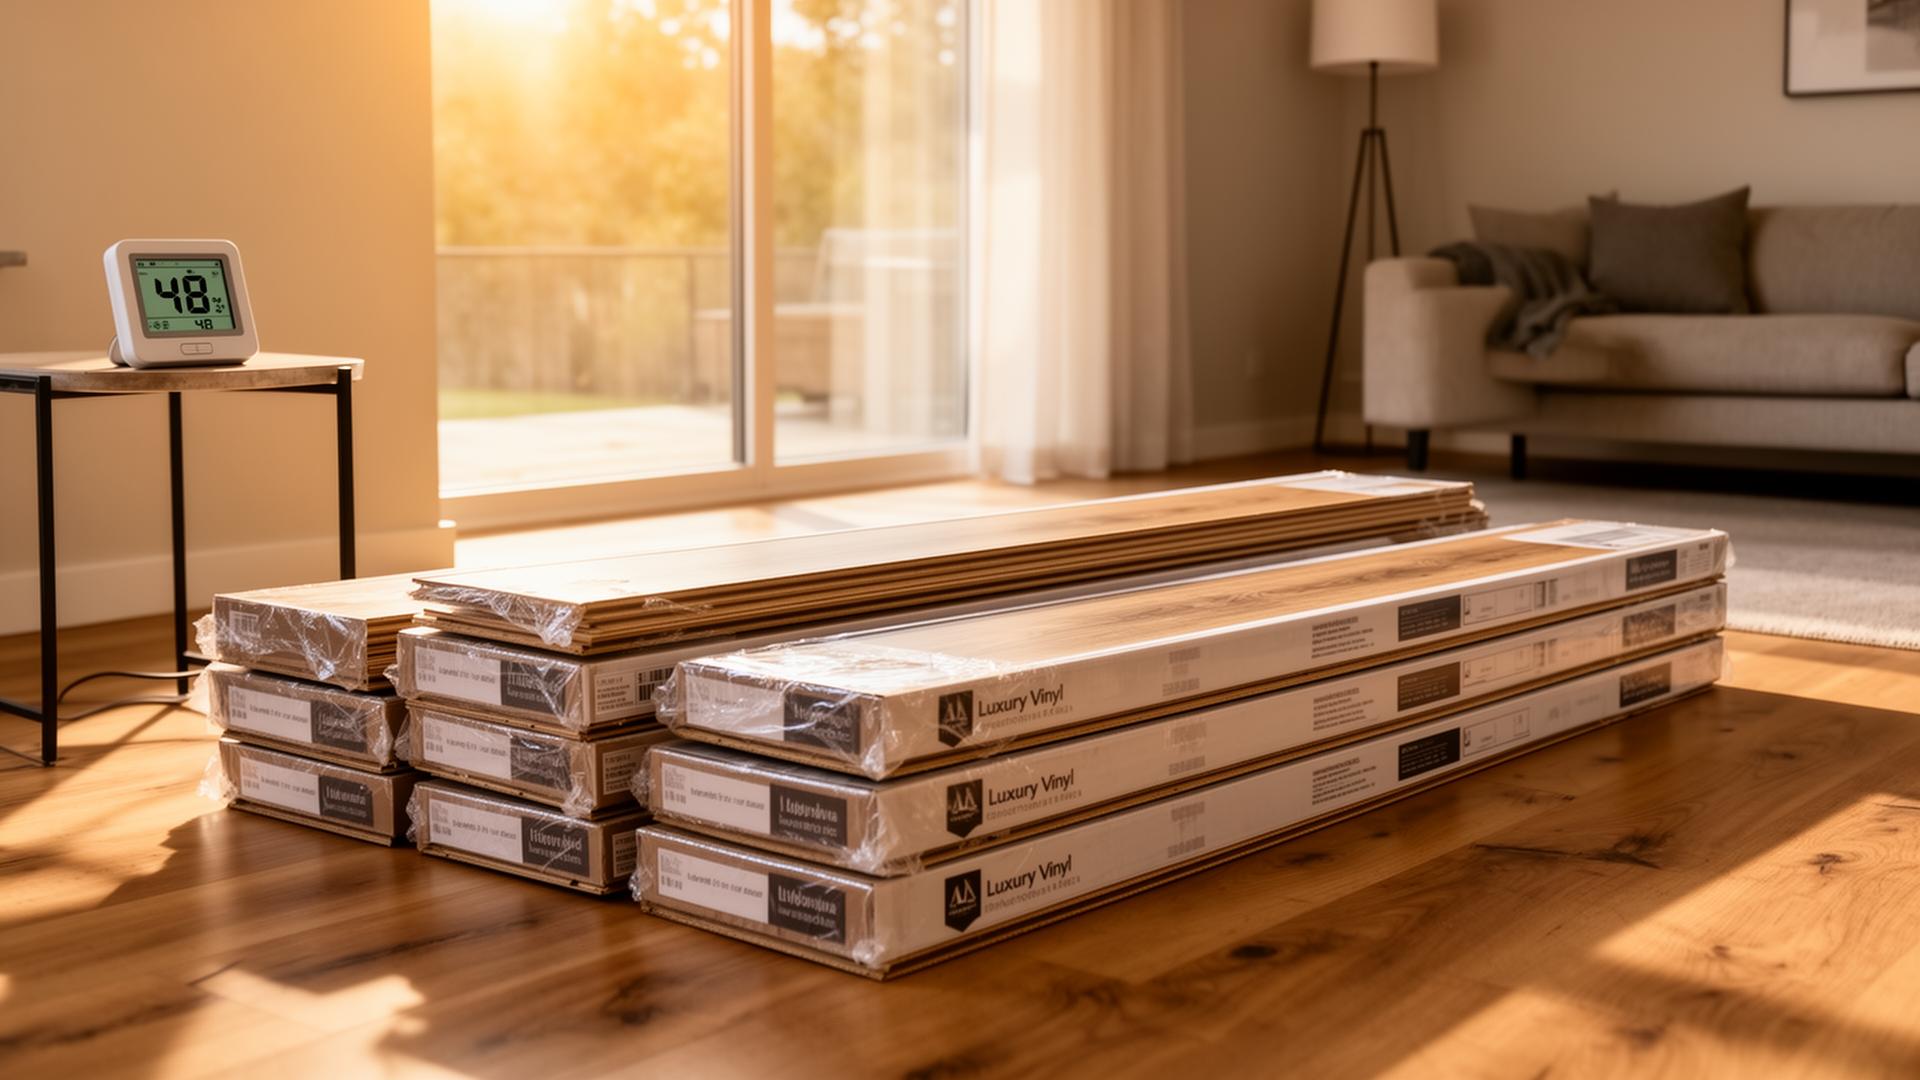
Don't forget acclimation: most manufacturers require LVP boxes to sit flat in the install space for 48 hours before installation so the planks adjust to your home's temperature and humidity. That's not "installation time" but it is project time, and skipping it voids most warranties. See what to know before installing LVP for the other gotchas.
DIY timeline reality check
First-time DIYers average 30–50 sq ft per hour once they're in rhythm. That sounds fine until you add up the rest of the day: tool setup, layout planning, cutting station, hauling planks, fixing the first row, and figuring out the closet. Real first-day DIY output is often 100–200 sq ft total.
| Project size | Pro crew | Experienced DIY | First-time DIY |
|---|---|---|---|
| 200 sq ft bedroom | ~1 day | 1–2 days | 2–3 days |
| 500 sq ft living area | 1.5–2 days | 3–4 days | 1–2 weekends |
| 1,000 sq ft ground floor | 2–3 days | 1 week+ | 3–4 weekends |
Common DIY time-sinks: cutting planks the wrong direction, running out of material mid-job, discovering the subfloor isn't flat after row three, and having to undo and redo the starting wall because the first row drifted. Compare against what pro installation costs per square foot before deciding.
What can delay your project
- Material backorders. Specific colors and SPC lines run out. Order all your material — including 10–15% waste — at least two weeks before the install date.
- Acclimation hold. 48 hours, non-negotiable for most warranties.
- Moisture test failures. Slabs over 3 lbs/1000 sq ft/24 hr need a moisture-barrier underlayment or sealer — adds half a day plus material.
- Hidden subfloor damage. Soft spots under old carpet often only show up after demo, adding patching or plywood replacement.
- Special-order transitions or stair noses. Color-matched pieces can be 1–3 week lead times.
So how do you actually budget time?
For a typical Southern California single-family ground floor, plan a 3- to 4-day window from when the crew arrives to when furniture goes back. Bedrooms or smaller projects can wrap in a day or two. The fastest path to an accurate timeline is a measurement visit — we look at the existing floor, check for flatness and moisture, count transitions, and quote you a real schedule along with the price.
Ready to put a real date on your project?
Skip the guessing. Book a professional measurement and we'll give you a firm timeline, an itemized quote, and answer any prep questions on-site. Or, run the numbers yourself with our instant estimate calculator.
Know your flooring cost in 60 seconds.
Use our published rates to get an itemized estimate — no phone calls, no sales pressure.
Keep reading
All articles →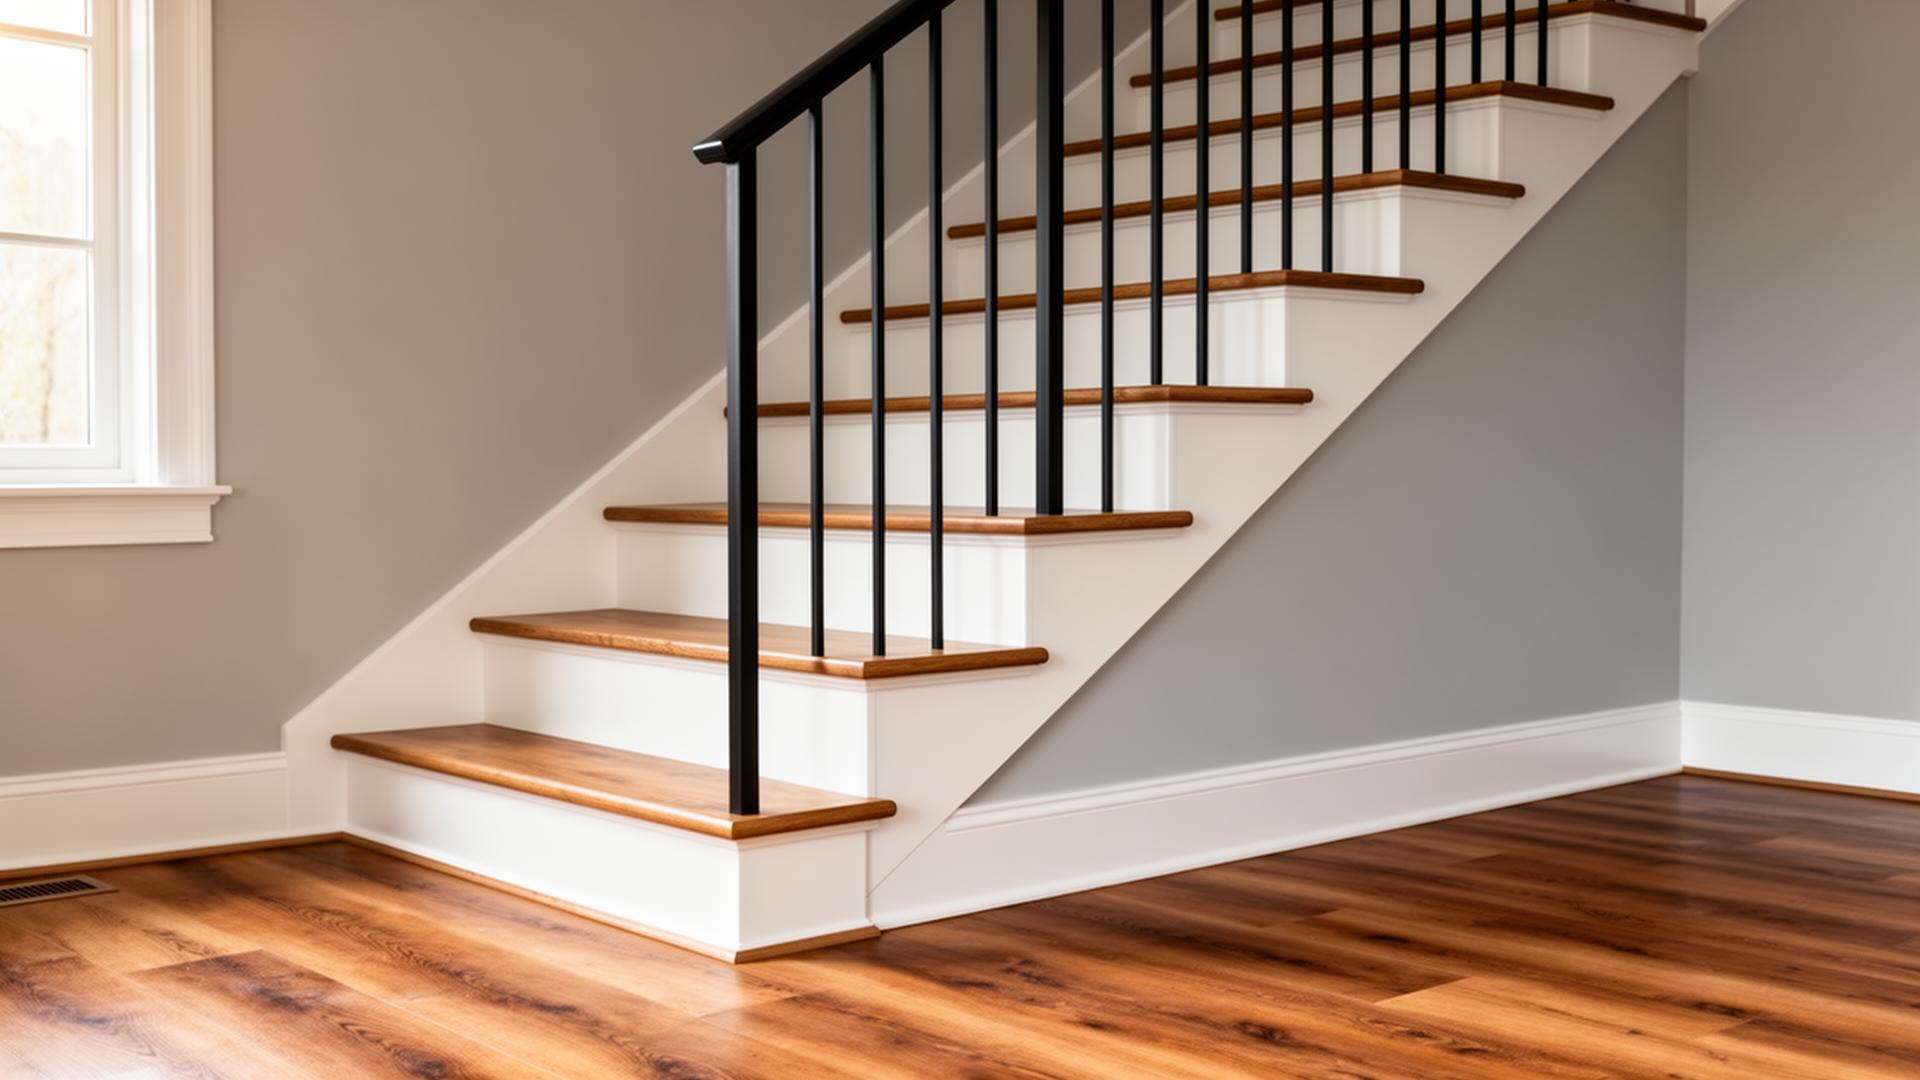
Can LVP Be Installed on Stairs?
Yes — LVP works on stairs, but it must be glued down, paired with matching stair-nose molding, and installed on a solid sub-tread. Here's what it really costs and what to watch out for.
How Do I Choose Between Wood-Look and Stone-Look LVP?
A homeowner's decision guide for picking wood-look vs stone-look LVP — which visual works best in each room, what affects resale, and how to mix the two cleanly.
Should I Acclimate LVP Before Installation?
Yes — but not for the reasons you think. Here's what manufacturers actually require, how long acclimation takes, and what really happens if you skip it.